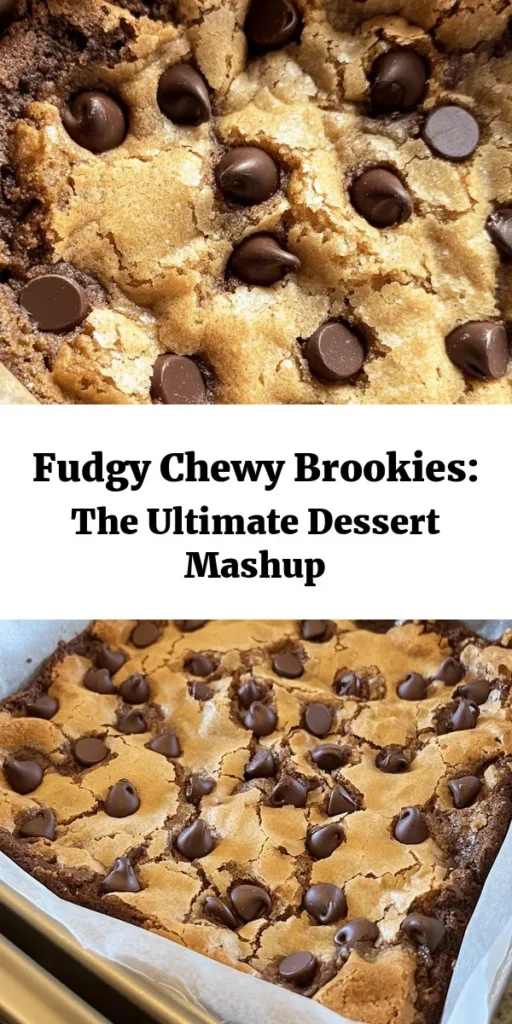
Indulging in a delightful dessert that combines two beloved treats is a culinary joy that many cherish. Enter the fudgy chewy brookie, a perfect fusion of brownies and cookies that brings the best of both worlds to your plate. This innovative dessert has taken the baking world by storm, captivating the hearts and taste buds of dessert lovers everywhere. Whether you’re a baking novice or an experienced home chef, this comprehensive guide will equip you with the knowledge to create this delicious treat that is sure to impress family and friends.
Understanding Brookies: The Perfect Dessert Hybrid
Exploring the Origins of Brookies
The brookie, a delightful blend of brownies and cookies, is a contemporary dessert that has gained immense popularity in recent years. While the precise origins of brookies are somewhat unclear, it is widely believed that they emerged from the desire to combine the rich, fudgy texture of brownies with the soft, chewy nature of cookies. This beautifully crafted dessert embodies the best attributes of both treats, making it a favorite among those who have a sweet tooth.
Brookies have their roots in traditional baking, where recipes for brownies and cookies have been passed down through generations. The innovative twist of combining these two classics is a testament to the creativity found in home kitchens and professional bakeries alike. As more bakers experimented with hybrid desserts, the brookie quickly rose to fame, appearing at bake sales, coffee shops, and family gatherings.
Today, brookies are not just a trend; they have become a staple in the dessert repertoire. Their versatility allows for endless variations, including different flavors, mix-ins, and toppings. This adaptability makes brookies the perfect canvas for bakers to express their creativity while satisfying cravings for both brownies and cookies.
Defining the Characteristics of a Perfect Brookie
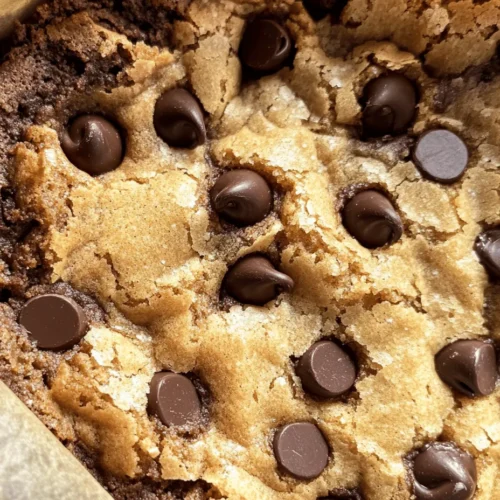
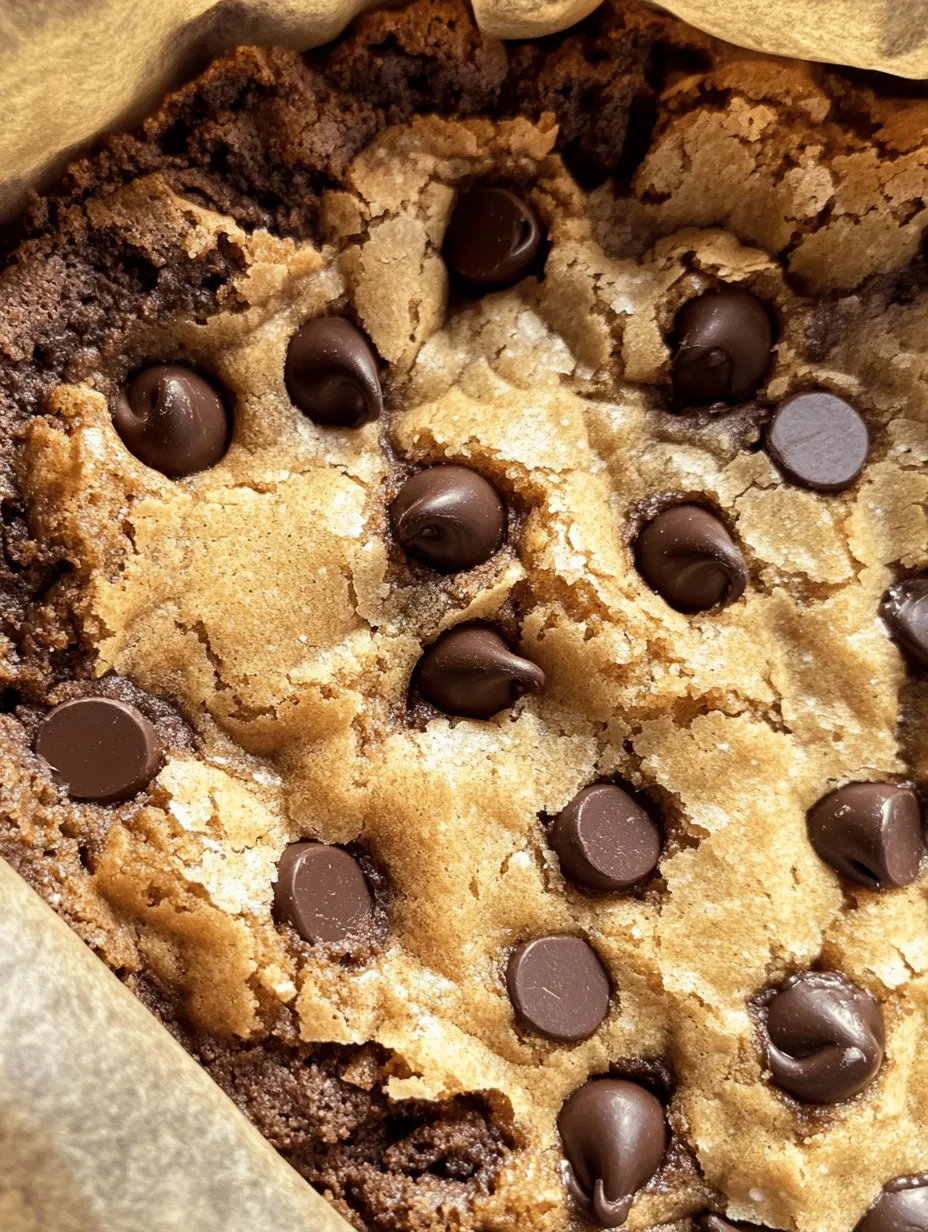
What exactly makes a brookie stand out? The ideal brookie should feature a rich, fudgy brownie layer that is dense and decadent, complemented by a soft, chewy cookie layer that bursts with flavor. The contrast in textures is what sets brookies apart from traditional brownies or cookies. A perfect brookie strikes a balance between the two layers, ensuring that neither overpowers the other.
A successful brookie also showcases the beauty of chocolate. The brownie layer often incorporates cocoa powder, while the cookie layer is typically loaded with chocolate chips. This double chocolate delight creates a rich, indulgent experience that chocolate lovers will adore. The sweetness of the cookie layer should harmonize with the slightly bitter notes of the brownie, resulting in a well-rounded flavor profile that keeps you coming back for more.
In addition to flavor and texture, the visual appeal of brookies is essential. A well-made brookie should have a glossy top layer with a slightly cracked surface, showcasing the chocolate chips nestled within. The contrasting colors of the dark brownie and golden cookie create an eye-catching treat that is as beautiful as it is delicious.
The Key Ingredients for Fudgy Chewy Brookies
Highlighting Essential Ingredients
Creating the best fudgy chewy brookies requires an understanding of the key ingredients that contribute to their rich flavor and perfect texture. Each component plays a crucial role, ensuring that your brookies turn out as intended. Let’s take a closer look at the essential ingredients used in both the brownie and cookie layers.
Butter: The Foundation of Flavor
Unsalted butter is the cornerstone of many baked goods, and brookies are no exception. The role of butter in baking goes beyond just adding flavor; it also contributes to the texture and moisture of the finished product. When creamed with sugar, butter creates a light, airy consistency that helps to lift the cookie layer. Additionally, the fat from the butter enriches both layers, resulting in a fudgy brownie and a soft cookie.
It’s essential to use unsalted butter in this recipe to control the amount of salt in your brookies. Salted butter contains varying levels of salt, which can affect the overall flavor balance. By using unsalted butter, you can better tailor the seasoning to your taste and ensure a harmonious blend of flavors.
Sugar Types: Granulated vs. Brown
The types of sugar you choose to use can significantly impact the texture and sweetness of your brookies. In this recipe, both granulated sugar and brown sugar are used to achieve the perfect balance.
– Granulated Sugar: This sugar is essential for adding sweetness to both the brownie and cookie layers. It helps create a light texture in the cookie layer, promoting a chewy consistency. Granulated sugar also aids in browning, giving your brookies a beautiful golden hue.
– Brown Sugar: The use of brown sugar introduces moisture and a subtle caramel flavor to the brookies. Brown sugar contains molasses, which not only adds sweetness but also contributes to the chewy texture of the cookie layer. By using a combination of both sugars, you can create a brookie that is sweet, rich, and perfectly balanced.
Cocoa Powder and Chocolate Chips: A Chocolate Lover’s Dream
No brookie recipe would be complete without the inclusion of cocoa powder and chocolate chips. These two ingredients are what turn a simple dessert into a chocolate lover’s paradise.
– Cocoa Powder: The addition of cocoa powder in the brownie layer intensifies the chocolate flavor, giving it a deep, rich taste. It also helps to create that fudgy texture that is characteristic of a perfect brownie. When selecting cocoa powder, opt for high-quality Dutch-processed cocoa for a smoother, more complex flavor.
– Chocolate Chips: The cookie layer is typically studded with semi-sweet or milk chocolate chips, adding bursts of chocolatey goodness throughout. Chocolate chips not only enhance the overall flavor but also create delightful melting pockets of chocolate that contrast beautifully with the brownie base. Feel free to experiment with different types of chocolate chips, such as dark chocolate or white chocolate, to personalize your brookies.
Step-by-Step Instructions for Making Brookies
Now that you understand the key ingredients that make up these fudgy chewy brookies, it’s time to delve into the step-by-step instructions for creating this delectable dessert. Let’s start with the very first step in the baking process.
Preheating the Oven: Setting the Stage for Baking
Before you begin mixing your ingredients, the first crucial step is to preheat your oven. Preheating ensures that your brookies bake evenly and at the right temperature from the start. Set your oven to 350°F (175°C), allowing it to reach the desired temperature while you prepare your batter.
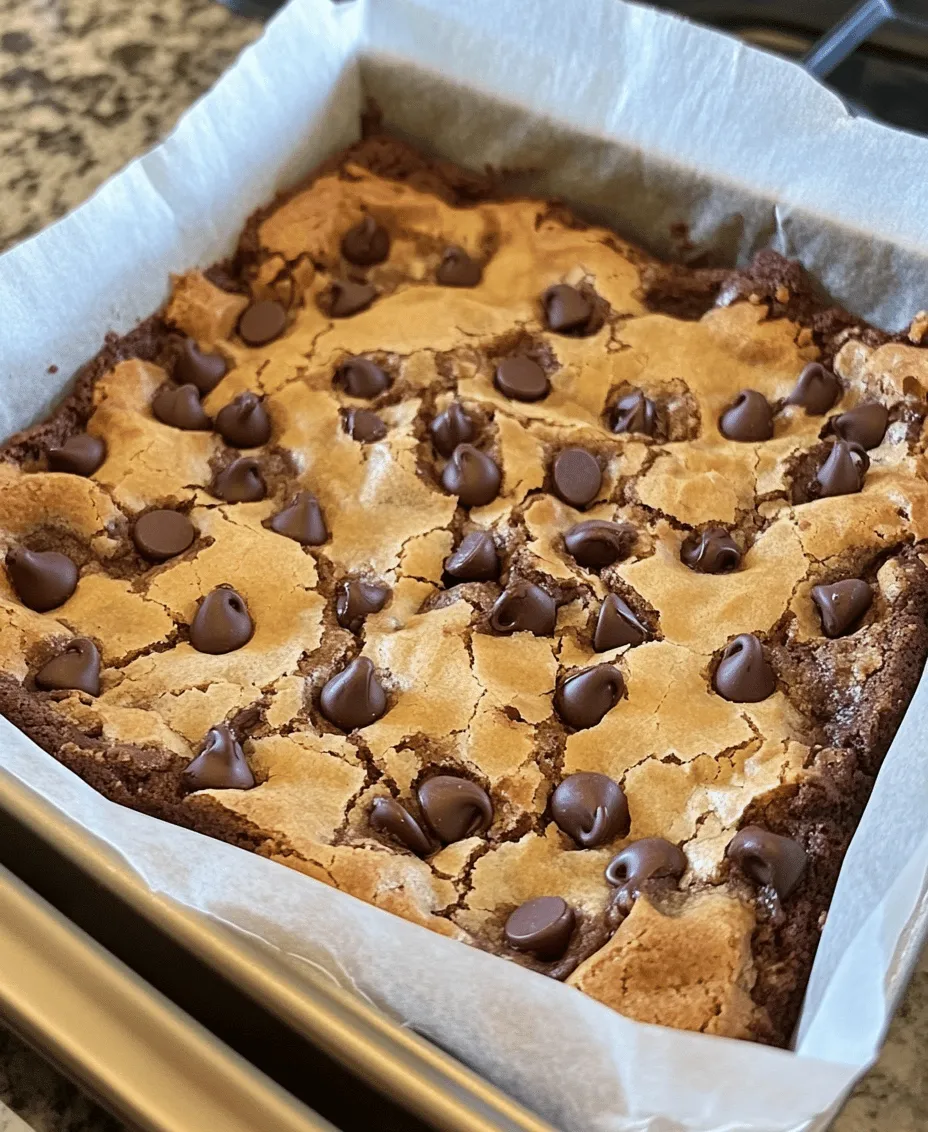
While the oven is heating, you can also prepare your baking pan. Line a 9×13-inch baking dish with parchment paper, allowing some overhang on the sides for easy removal later. Lightly grease the parchment paper to prevent sticking and ensure that your brookies come out easily once they are baked.
Creating the Brownie Layer: A Rich Base
Now that your oven is preheated and your baking pan is ready, it’s time to start making the brownie layer. Follow these steps for a rich and fudgy base:
1. Melt the Butter: In a medium saucepan over low heat, melt the unsalted butter. Stir it occasionally to ensure it melts evenly without browning. Once melted, remove the saucepan from the heat and allow it to cool slightly.
2. Add Sugars: Once the butter has cooled, stir in both the granulated sugar and brown sugar. Mix until well combined, creating a smooth, glossy mixture.
3. Incorporate Eggs: Add the eggs to the butter and sugar mixture, one at a time, stirring well after each addition. This step is crucial for incorporating air into the batter, ensuring a light and fudgy texture in the final product.
4. Add Vanilla Extract: Stir in the vanilla extract, which adds a depth of flavor to the brownie layer. The aroma of vanilla will enhance the overall chocolate experience.
5. Mix Dry Ingredients: In a separate bowl, whisk together the all-purpose flour, cocoa powder, and a pinch of salt. Gradually add the dry ingredients to the wet mixture, folding gently until just combined. Be careful not to overmix, as this can lead to a denser brownie.
6. Fold in Chocolate Chips: Finally, fold in half of the chocolate chips, reserving the other half for the cookie layer. This will ensure that each bite of brownie layer is filled with decadent chocolate goodness.
Once the brownie layer is prepared, spread it evenly in the prepared baking pan, smoothing the top with a spatula. This rich base will provide the perfect foundation for the cookie layer to come.
As we embark on the next steps of creating the cookie layer, get ready to layer on the deliciousness and create a treat that will leave everyone craving more. Stay tuned for the continuation of this delectable recipe that transforms simple ingredients into an extraordinary dessert experience.
Step-by-Step Instructions for Making the Brownie Layer
To create the ultimate fudgy texture for your brookies, the brownie layer is the foundation. Start by preheating your oven to 350°F (175°C) and greasing a 9×13-inch baking pan. This ensures the brownies will release easily once baked.
Ingredients for the Brownie Layer
– 1/2 cup (1 stick) unsalted butter
– 1 cup granulated sugar
– 2 large eggs
– 1 teaspoon vanilla extract
– 1/3 cup unsweetened cocoa powder
– 1/2 cup all-purpose flour
– 1/4 teaspoon salt
– 1/4 teaspoon baking powder
Instructions for the Brownie Layer
1. Melt the Butter: In a small saucepan over low heat, melt the butter. Remove it from the heat and let it cool slightly.
2. Combine Sugar and Eggs: In a large mixing bowl, whisk together the melted butter and granulated sugar until well combined. Add the eggs, one at a time, mixing well after each addition. Stir in the vanilla extract.
3. Incorporate Dry Ingredients: Sift together the cocoa powder, flour, salt, and baking powder. Gradually add this mixture to the wet ingredients, folding gently until just combined. Be careful not to overmix, as this will lead to a denser texture.
4. Transfer to Pan: Pour the brownie batter into the prepared baking pan, spreading it evenly with a spatula.
Crafting the Cookie Layer: Soft and Chewy
The cookie layer is what makes these brookies truly special. It adds a chewy, chocolatey top that perfectly complements the fudgy brownie base.
Ingredients for the Cookie Layer
– 1/2 cup (1 stick) unsalted butter, softened
– 1/2 cup brown sugar, packed
– 1/4 cup granulated sugar
– 1 large egg
– 1 teaspoon vanilla extract
– 1 1/4 cups all-purpose flour
– 1/2 teaspoon baking soda
– 1/4 teaspoon salt
– 1 cup semisweet chocolate chips
Instructions for the Cookie Layer
1. Cream Butter and Sugars: In a separate bowl, cream the softened butter, brown sugar, and granulated sugar together until light and fluffy.
2. Add Egg and Vanilla: Beat in the egg and vanilla extract until smooth.
3. Mix Dry Ingredients: In another bowl, whisk together the flour, baking soda, and salt. Gradually add the dry ingredients to the wet mixture, stirring until just combined.
4. Incorporate Chocolate Chips: Fold in the chocolate chips with a spatula until evenly distributed throughout the dough.
Layering Techniques: Combining Brownie and Cookie
Now that both layers are prepared, it’s time to combine them. The layering is crucial for ensuring that each bite of the brookie has the perfect balance of brownie and cookie.
1. Layer the Cookie Dough: After the brownie layer has been baked for about 10 minutes (it should be just set but not fully baked), remove it from the oven. Using a spoon or your hands, drop dollops of the cookie dough over the brownie layer.
2. Spread Evenly: Gently spread the cookie dough over the brownie layer, trying to cover it as evenly as possible. This will create a lovely layered effect once baked.
Baking to Perfection: Timing and Temperature
Baking time and temperature are critical to achieving the perfect brookies. After layering, return the pan to the oven.
1. Bake: Bake the brookies for an additional 20-25 minutes, or until the cookie layer is golden brown and a toothpick inserted into the center comes out with a few moist crumbs (not wet batter).
2. Visual Cues: Look for a slightly puffed cookie layer, with edges that are firm but the center that looks a little soft. This indicates that the brookies will set up nicely as they cool.
Cooling and Serving Your Brookies
The Importance of Cooling
Cooling is essential for the texture of brookies. If you cut them too soon, they may fall apart or not hold their shape.
1. Cool in the Pan: Allow the brookies to cool in the baking pan on a wire rack for at least 30 minutes. This helps them firm up without overbaking.
2. Transfer to a Wire Rack: After cooling in the pan, carefully lift the brookies out using parchment paper. Let them cool completely on a wire rack.
Cutting Techniques for Perfect Squares
For a beautiful presentation, cutting your brookies into uniform squares is key.
1. Use a Sharp Knife: Once fully cooled, use a sharp knife to cut the brookies into squares. For clean cuts, dip the knife in hot water and wipe it dry between cuts.
2. Size Matters: Aim for 2-inch squares for a manageable serving size, but feel free to adjust based on your preference.
Serving Suggestions: Pairing with Beverages
Brookies are delicious on their own, but pairing them with the right beverages can elevate the experience.
1. Coffee: A rich cup of coffee complements the chocolate flavors beautifully. Consider a mocha or a creamy latte to enhance the sweetness of the brookies.
2. Milk: You can never go wrong with a classic glass of cold milk. The creaminess balances the fudgy brownie and chewy cookie layers perfectly.
3. Ice Cream: For an indulgent dessert, serve brookies warm with a scoop of vanilla or chocolate ice cream on top. The ice cream melts into the brookies, creating a delightful combination of temperatures and textures.
Frequently Asked Questions About Brookies
Common Baking Questions
1. Can I use different types of chocolate chips?
Absolutely! Feel free to mix and match chocolate chips. Dark chocolate or milk chocolate can both work wonderfully.
2. What if I don’t have unsweetened cocoa powder?
If you only have Dutch-processed cocoa powder, you can use it as a substitute. Just be mindful that it may alter the flavor slightly.
3. Can I make brookies in advance?
Yes, brookies can be baked in advance. Just store them in an airtight container once completely cooled. They’ll stay fresh for several days.
Troubleshooting Common Issues
1. Why are my brookies too dry?
Overbaking is often the culprit. Make sure to check on them a few minutes before the suggested baking time.
2. Why did my brookies fall apart when cutting?
This typically occurs if they were cut too soon. Always allow sufficient cooling time to help them set properly.
Conclusion
In conclusion, the best fudgy chewy brookies offer a remarkable combination of textures and flavors that make them a standout dessert. With a rich brownie base and a delectable cookie topping, these treats are perfect for any occasion, satisfying your sweet tooth and delighting your guests. By following the detailed steps and insights outlined in this article, you can master the art of making brookies, ensuring that each batch is a delicious success. Embrace the joy of baking and savor the delightful experience that comes with creating these irresistible treats. Whether enjoyed on their own or paired with a beverage, these brookies are destined to become a favorite in your dessert repertoire.