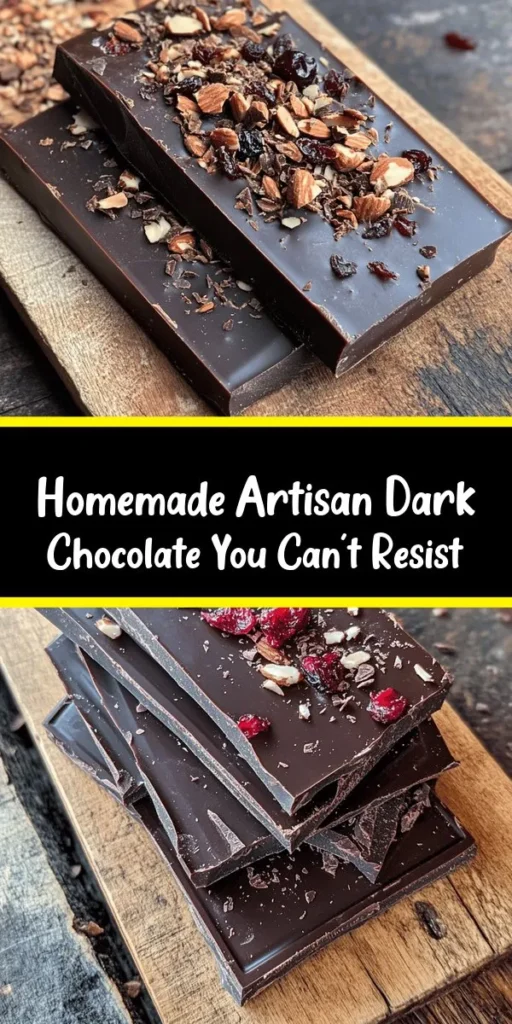
Introduction to Irresistible Artisan Dark Chocolate
Making your own artisan dark chocolate is not just a culinary endeavor; it’s an experience that brings joy and satisfaction to your kitchen. This easy-to-follow recipe empowers you to create delicious chocolate that not only satisfies your sweet tooth but also allows you to express your creativity. With a handful of simple, wholesome ingredients, you can achieve a luxurious chocolate experience tailored specifically to your taste preferences.
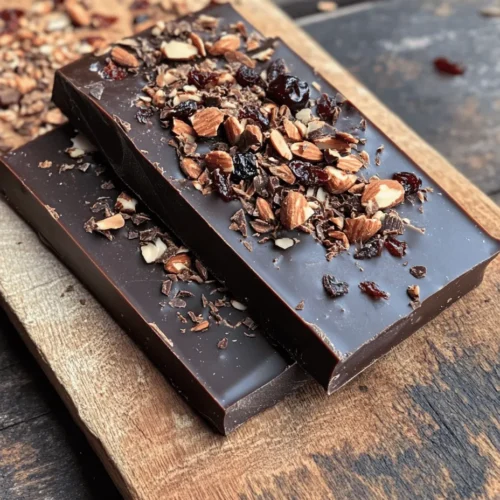
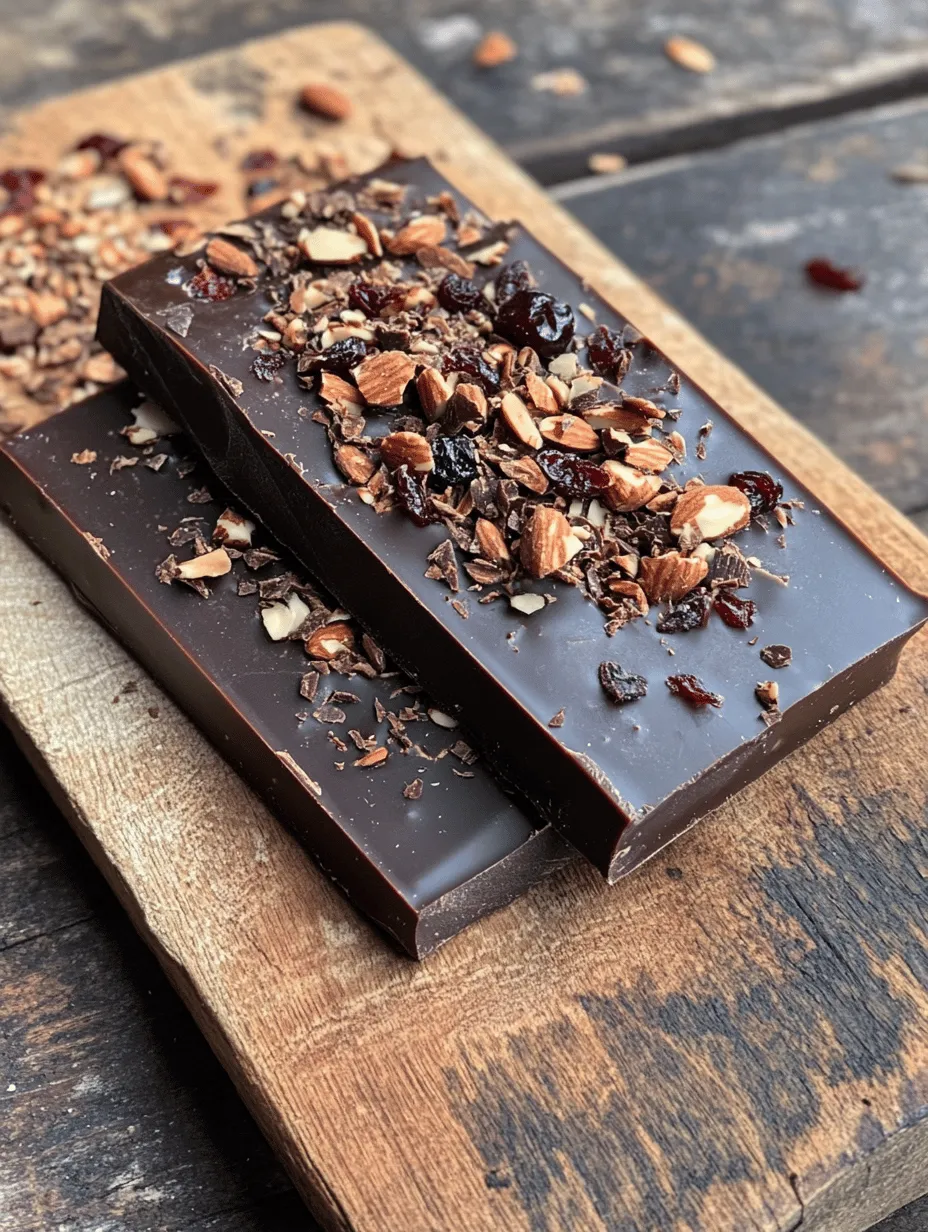
The beauty of artisan dark chocolate lies in its versatility. You can enjoy it plain, savoring the rich, deep flavors of high-quality cocoa, or elevate your creation with delightful add-ins such as crunchy nuts, chewy dried fruits, or even a sprinkle of sea salt. This recipe will guide you through each step, ensuring that the result is a smooth, rich chocolate that melts in your mouth and leaves you craving more.
Understanding the Ingredients
The Foundation of Artisan Chocolate
To create a truly exceptional artisan dark chocolate, understanding the key ingredients is essential. The primary components of this recipe are cocoa butter and cocoa powder, which together form the base of your chocolate.
– Cocoa Butter: This is the fat extracted from cocoa beans and serves as the foundation of your chocolate. It provides a silky texture and a rich mouthfeel. Additionally, cocoa butter has a delicate cocoa flavor that enhances the overall taste of the chocolate. When melted and combined with cocoa powder, it creates a smooth and creamy base that is essential for high-quality chocolate.
– Cocoa Powder: This ingredient is responsible for the rich, intense flavor of dark chocolate. Made by grinding roasted cocoa beans after most of the cocoa butter has been extracted, cocoa powder provides that signature bitterness and depth. The quality of your cocoa powder significantly influences the final taste, so opt for a high-quality, unsweetened cocoa powder for the best results.
Exploring Sweetness Options
The sweetness of your dark chocolate can be tailored to your liking through the use of natural sweeteners. This recipe allows you to choose between honey and maple syrup, both of which offer unique flavors and benefits.
– Honey: This natural sweetener brings a floral note to your chocolate, enhancing its complexity. Honey also has the advantage of being a humectant, meaning it can help maintain moisture in your chocolate. However, it’s important to note that honey has a distinct flavor, which could slightly alter the final taste of your chocolate.
– Maple Syrup: For those who prefer a more earthy sweetness, maple syrup is an excellent choice. It adds a subtle, caramel-like flavor that complements the bitterness of the cocoa. Additionally, maple syrup is lower on the glycemic index than honey, making it a preferable option for those watching their sugar intake. When selecting maple syrup, choose pure, high-quality syrup to ensure the best flavor.
The Importance of Flavor Enhancers
To balance the sweetness and enrich the flavor profile of your artisan dark chocolate, incorporating flavor enhancers is key. Two essential ingredients in this regard are vanilla extract and sea salt.
– Vanilla Extract: A splash of pure vanilla extract can elevate your chocolate by adding warmth and complexity. The aromatic qualities of vanilla work harmoniously with the cocoa, creating a more rounded flavor. When using vanilla extract, opt for pure varieties rather than artificial ones to maintain the integrity of your chocolate.
– Sea Salt: A sprinkle of sea salt not only enhances the sweetness but also deepens the chocolate’s flavor. The contrast between the sweetness and the saltiness creates a sophisticated taste experience that can make your chocolate truly irresistible. When adding salt, start with a small amount, as you can always add more to taste.
Step-by-Step Process for Making Artisan Dark Chocolate
Melting Cocoa Butter
The first step in crafting your artisan dark chocolate is melting the cocoa butter. This process requires careful attention to temperature control to ensure the butter melts smoothly without burning.
1. Set Up a Double Boiler: Fill a medium saucepan with a couple of inches of water and bring it to a gentle simmer. Place a heatproof bowl on top of the saucepan, ensuring that the bottom of the bowl does not touch the water.
2. Add Cocoa Butter: Cut your cocoa butter into small chunks and place them in the heatproof bowl. The smaller pieces will melt more evenly and quickly.
3. Monitor Temperature: Stir the cocoa butter occasionally as it begins to melt. It’s essential to keep the heat low to avoid overheating. You want to reach a temperature of around 120°F (49°C) for optimal melting. Use a kitchen thermometer to check the temperature regularly.
4. Achieve a Silky Texture: As the cocoa butter melts, continue stirring gently until it is completely liquid and smooth. Remove the bowl from the heat once fully melted, being careful to avoid any water seeping into the cocoa butter, which could cause it to seize.
Incorporating Cocoa Powder
Once your cocoa butter is melted and silky, the next step is to incorporate the cocoa powder. This step is crucial for achieving a smooth and lump-free chocolate.
1. Sift Cocoa Powder: Before adding cocoa powder to the melted cocoa butter, sift it through a fine-mesh sieve. This removes any lumps and ensures a smooth texture in your final chocolate.
2. Whisk Together: Gradually add the sifted cocoa powder to the melted cocoa butter while continuously whisking. This helps to combine the two ingredients evenly. Be patient and continue to whisk until all the cocoa powder is fully incorporated and the mixture is thick and glossy.
3. Check for Lumps: After mixing, check for any lumps that may have formed. If you notice any, continue whisking or use an immersion blender for a few seconds to achieve a completely smooth consistency.
Adding Sweeteners and Flavorings
With your base chocolate mixture ready, it’s time to enhance the flavor with sweeteners and other flavorings.
1. Choose Your Sweetener: Depending on your preference, measure out your chosen sweetener—honey or maple syrup. Remember, the amount can be adjusted based on how sweet you like your chocolate.
2. Mix in Sweetener: Slowly pour the sweetener into the chocolate mixture while continuously whisking. This ensures that the sweetener is fully integrated into the chocolate, preventing any graininess.
3. Add Vanilla and Salt: After the sweetener is well mixed, add a splash of vanilla extract and a pinch of sea salt. Whisk again until everything is well combined. Taste your chocolate at this point and adjust the sweetness or saltiness as needed to suit your palate.
Incorporating Optional Add-ins
One of the most enjoyable aspects of making artisan dark chocolate is the ability to customize it with various add-ins. Once you have your basic chocolate mixture, consider incorporating some of these delightful extras:
1. Nuts: Chopped nuts such as almonds, hazelnuts, or walnuts can add a satisfying crunch and complement the chocolate’s rich flavor. Toasting the nuts lightly before adding them enhances their flavor even further.
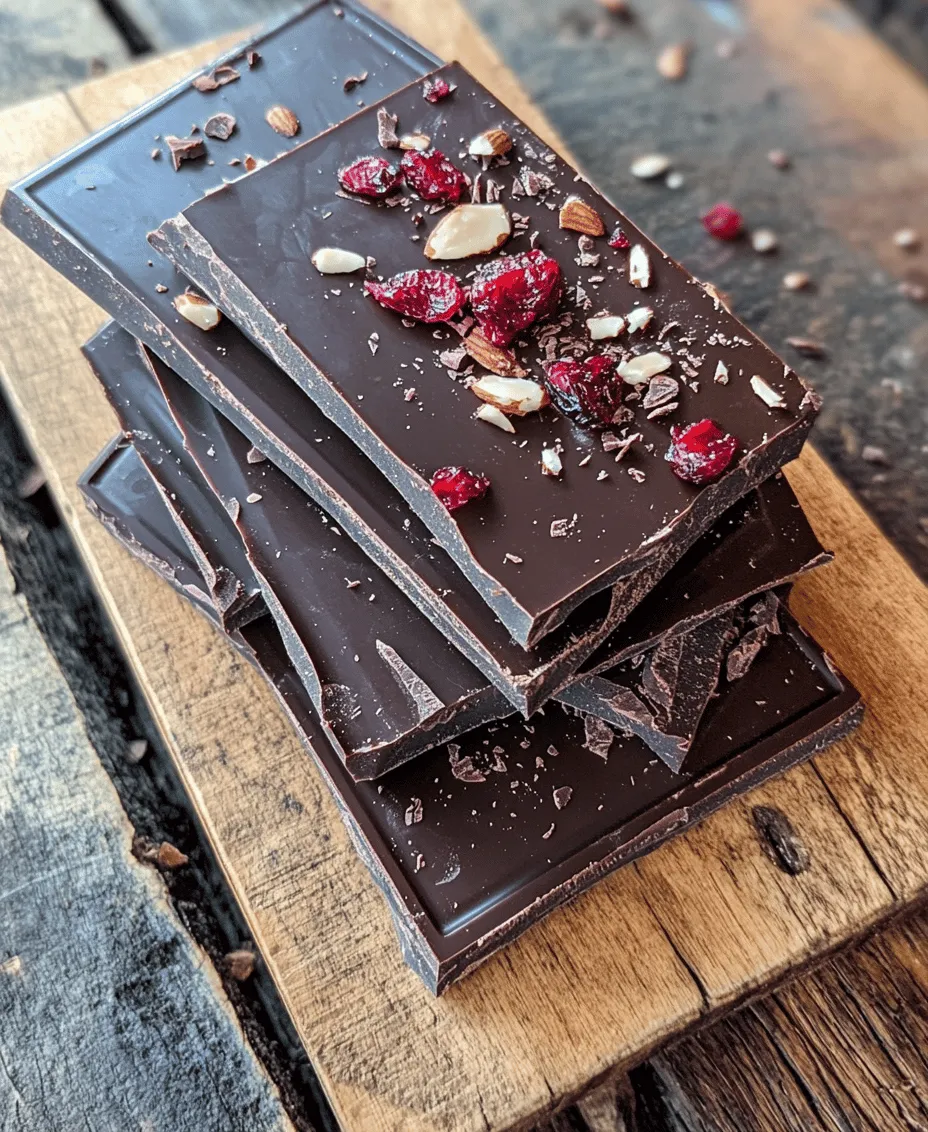
2. Dried Fruits: For a chewy contrast, consider adding dried fruits like cranberries, apricots, or cherries. These add a natural sweetness and a burst of flavor that pairs beautifully with dark chocolate.
3. Spices: To add a unique twist, try incorporating spices such as cinnamon, chili powder, or even a pinch of espresso powder. These can enhance the complexity of your chocolate and surprise your taste buds.
4. Flavor Extracts: Beyond vanilla, you can experiment with other extracts like almond or orange for a different flavor profile. Just be cautious with the quantity, as these can be potent.
5. Sea Salt Sprinkling: For those who love a sweet and salty combination, consider sprinkling some flaky sea salt on top of your chocolate before it sets.
With these steps and suggestions in mind, you are well on your way to creating your very own batch of irresistible artisan dark chocolate. The next section will guide you through the final steps of pouring, setting, and enjoying your homemade treat.
Folding in nuts or dried fruits is an exquisite way to add texture and complexity to your artisan dark chocolate. Not only do these additions enhance the flavor profile, but they also introduce delightful crunch and chewiness, creating a multi-dimensional chocolate experience. Choose from a variety of options such as roasted almonds, crunchy hazelnuts, or chewy dried cherries. The key is to ensure that your nuts or fruits are roughly chopped to maximize their integration into the chocolate and to scatter them evenly throughout the mixture.
To fold in your selected ingredients, let the melted chocolate cool slightly before adding them. This prevents the nuts or fruits from sinking to the bottom and ensures that they are evenly distributed throughout the chocolate, making every bite an adventure. Gently stir the mix with a spatula, being careful not to overwork the chocolate, which could lead to a loss of the desired silky texture.
Molding Techniques
Once you have incorporated your nuts or dried fruits, it’s time to pour the chocolate mixture into molds. Proper molding is essential for achieving a professional finish and ensuring that your chocolate retains its shape.
To minimize air bubbles, consider the following techniques:
1. Tap the Molds: After filling your molds, gently tap them on a flat surface. This will help displace any trapped air bubbles that may have formed during pouring.
2. Use a Spatula: As you pour, use a spatula to guide the chocolate into the molds, ensuring that it reaches all corners.
3. Fill in Layers: If you’re making thicker pieces, consider pouring in layers. This allows for even distribution and gives you the opportunity to add more nuts or fruits between layers.
4. Silicone Molds: Investing in high-quality silicone molds can make a significant difference. They are flexible, which makes it easier to release the chocolate once it has set.
Chilling for Perfection
The chilling process is crucial in achieving the perfect firmness for your artisan dark chocolate. Place your filled molds in the refrigerator, allowing the chocolate to cool and set properly. For optimal firmness, let it chill for at least 1 to 2 hours. The exact time may vary based on the thickness of the chocolate and the size of your molds.
While chilling, avoid opening the refrigerator door frequently as temperature fluctuations can lead to a dull finish or bloom on the chocolate. Once the chocolate is fully set, it should snap when broken, indicating that it has been tempered correctly.
Storing and Enjoying Your Artisan Dark Chocolate
Best Practices for Storage
To maintain the texture and flavor of your homemade dark chocolate, proper storage is essential. Dark chocolate should be stored in a cool, dry place away from direct sunlight. Ideally, the temperature should be between 65°F and 70°F (18°C – 21°C). Avoid refrigeration unless necessary, as this can create condensation and affect the chocolate’s smooth texture.
Use an airtight container to keep your chocolate fresh and protect it from odors in the environment, as chocolate can easily absorb smells. If you have made multiple batches, consider separating them with parchment paper to prevent sticking.
Serving Suggestions
Your artisan dark chocolate is not only a treat on its own but can also be used creatively in various ways:
1. As a Gift: Wrap the chocolate in decorative paper or place it in a beautiful box, making it an ideal gift for friends or family. Personalize it by adding a label or a small card with serving suggestions.
2. Dessert Pairing: Serve your chocolate alongside fresh fruits like strawberries or raspberries. The tartness of the fruit beautifully complements the rich flavors of the dark chocolate.
3. Dessert Ingredient: Shave or chop your chocolate to use as a topping for desserts like ice cream, cakes, or pastries. It can also be melted down to make ganache for truffles or tart fillings.
4. Snack Time: Enjoy it as a snack with a handful of nuts or a cup of your favorite tea or coffee. The combination of flavors will elevate your snacking experience.
Nutritional Benefits of Dark Chocolate
Health Benefits of Dark Chocolate
Dark chocolate is not only a delicious treat but also packed with health benefits. Rich in antioxidants, it contains compounds such as flavonoids that can help combat oxidative stress in the body. Research has shown that dark chocolate can support heart health by improving blood flow, lowering blood pressure, and reducing the risk of heart disease.
Additionally, indulging in dark chocolate can enhance your mood, thanks to the presence of compounds like phenylethylamine, which can trigger the release of endorphins in the brain. Consuming dark chocolate in moderation may also contribute to improved cognitive function and memory retention.
Understanding the Nutritional Profile
When comparing homemade dark chocolate to store-bought options, the nutritional advantages of making it yourself become apparent. By controlling the ingredients, you can create a healthier version that suits your preferences.
A typical serving of homemade dark chocolate (about 1 ounce) contains:
– Calories: 170-200
– Fat: 12-15g (saturated fat varies based on the cocoa percentage)
– Sugar: 5-10g (depending on your choice of sweeteners)
– Fiber: 2-4g
– Iron: 10% of the Daily Value (DV)
In contrast, store-bought chocolates often contain added preservatives, artificial flavors, and higher sugar levels. By making your own chocolate, you ensure a higher cocoa content and fewer additives, leading to a purer, more satisfying treat.
Conclusion: The Joy of Homemade Artisan Dark Chocolate
Crafting your own artisan dark chocolate is not just about the end product; it’s a rewarding journey that invites you to engage with quality ingredients and personalize flavors that resonate with your taste. The satisfaction derived from creating something from scratch and knowing exactly what goes into it is unparalleled.
Whether you choose to experiment with different nut and fruit combinations, play with various molds, or simply savor the rich, decadent results, the joy of homemade treats is a celebration in itself. So go ahead, embrace the simplicity and delight of crafting your own dark chocolate, and relish in the fruits of your labor, one delectable bite at a time.