
Introduction
Artisan pizza dough is the cornerstone of a perfect homemade pizza experience. When crafted with care, it transforms into a delightful base that boasts a chewy texture, a crispy crust, and the ability to hold a variety of toppings. Whether you’re longing for a classic Margherita, a loaded pepperoni, or a creative veggie medley, mastering the art of pizza dough will not only elevate your culinary skills but also impress your friends and family alike. In this article, we will delve into the fundamentals of making artisan pizza dough, from selecting the right ingredients to the step-by-step process of creating a delectable crust. Whether you are a seasoned chef or a novice in the kitchen, this guide will equip you with all the information you need to create pizza dough that rivals your favorite pizzeria.
The beauty of artisan pizza dough lies in its simplicity. With just a handful of ingredients and a bit of patience, you can create a crust that is not only delicious but also customizable to suit your taste. This guide will walk you through every stage of the process, ensuring that you achieve outstanding results every time. So, roll up your sleeves, and let’s get started on this exciting culinary journey!
Understanding the Key Ingredients
The foundation of a great pizza begins with understanding its essential components. Each ingredient plays a crucial role in the dough-making process, and knowing how they work together will enhance your proficiency in crafting the perfect pizza base.
All-Purpose Flour
All-purpose flour is the star ingredient in artisan pizza dough. It provides the necessary structure and chewiness that every pizza lover craves. While all-purpose flour is versatile and widely available, many pizza aficionados swear by bread flour for its higher protein content, which leads to a chewier texture and better gluten development.
When selecting flour, consider the protein content: all-purpose flour typically contains about 10-12% protein, while bread flour can have up to 14%. If you seek a more traditional Neapolitan-style pizza with a soft and airy crust, you might want to experiment with a blend of both flours or stick to bread flour exclusively.
Sea Salt
Salt is not just a flavor enhancer; it plays a vital role in the dough-making process. It strengthens the gluten structure, which helps maintain the dough’s elasticity and chewiness. Using quality sea salt can elevate the taste of your pizza, as it brings out the natural flavors of the ingredients. Avoid table salt, as it often contains additives that can interfere with the fermentation process and flavor profile of your dough.
Sugar
Sugar may seem like an unconventional ingredient for pizza dough, but it serves multiple purposes. Primarily, sugar activates the yeast, helping to kickstart the fermentation process. Additionally, it contributes to the browning of the crust, resulting in a beautifully golden finish. For those looking to keep the recipe fully traditional, you can use a small amount of honey or malt syrup as a natural alternative to granulated sugar.
Active Dry Yeast
Yeast is the magical ingredient that breathes life into your dough. It ferments the sugars in the flour, producing carbon dioxide gas that causes the dough to rise and develop air pockets. Active dry yeast is a popular choice because of its long shelf life and ease of use. To ensure optimal results, you must properly activate the yeast before mixing it with the other ingredients.
Warm Water
Water is essential for hydrating the flour and activating the yeast. The temperature of the water is critical: it should be warm but not hot—ideally between 100°F to 110°F (37°C to 43°C). Water that is too hot can kill the yeast, while water that is too cold may not activate it effectively. Always use a thermometer to measure the temperature accurately, as this is a crucial step in achieving the perfect rise.
Olive Oil
Olive oil is a classic addition to pizza dough, providing richness and flavor. It also improves the dough’s texture, making it more tender and easier to stretch. The use of high-quality extra virgin olive oil can impart a subtle fruity flavor that enhances your pizza’s overall taste. If you’re looking for a healthier option, you can substitute olive oil with other oils, but keep in mind that the flavor might change.
Cornmeal
While not an ingredient in the dough itself, cornmeal plays an important role in the pizza-making process. It is commonly used for dusting the pizza peel or baking surface to prevent the dough from sticking. Cornmeal adds a delightful crunch to the crust, but if you don’t have it on hand, you can also use flour or semolina as alternatives.
The Dough-Making Process
Following the right steps in the dough-making process is essential for creating artisan pizza dough that rises beautifully and has the perfect texture. Below, we will provide a detailed walkthrough of the steps required to make your artisan pizza dough.
Preparing the Yeast Mixture
The first step in creating your artisan pizza dough is to prepare the yeast mixture. This step is crucial, as it ensures that your yeast is alive and ready to work its magic. To do this, measure out the warm water into a mixing bowl and sprinkle the active dry yeast over the surface. Allow the mixture to sit for about 5 to 10 minutes, or until it becomes frothy. This frothiness indicates that the yeast is active and ready to be mixed with the other ingredients.
To accurately measure the water temperature, use a food thermometer. If you don’t have one, you can test the water with your wrist; it should feel warm but not hot. If the water is too hot, let it cool down before adding the yeast, as high temperatures can kill the yeast and ruin your dough.
Mixing the Ingredients
Once your yeast mixture is frothy and bubbly, it’s time to combine it with the other ingredients. Start by adding the all-purpose flour, sea salt, sugar, and olive oil to the yeast mixture. To do this, create a well in the center of the flour in a large mixing bowl, and pour in the yeast mixture, followed by the olive oil.
Using a wooden spoon or spatula, begin to mix the ingredients together, starting from the edges of the well and gradually incorporating the flour into the wet mixture. Continue mixing until a rough dough begins to form. At this point, you may notice that the dough is shaggy and sticky—this is normal.
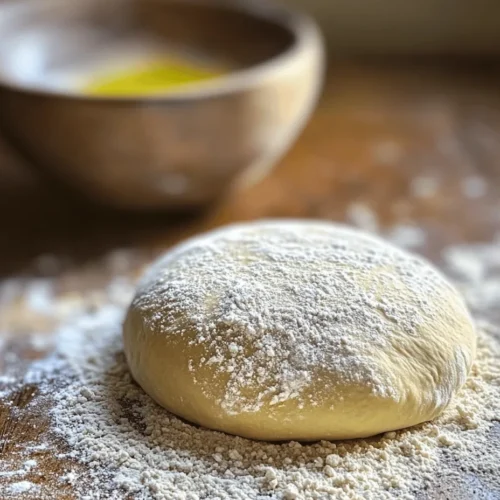
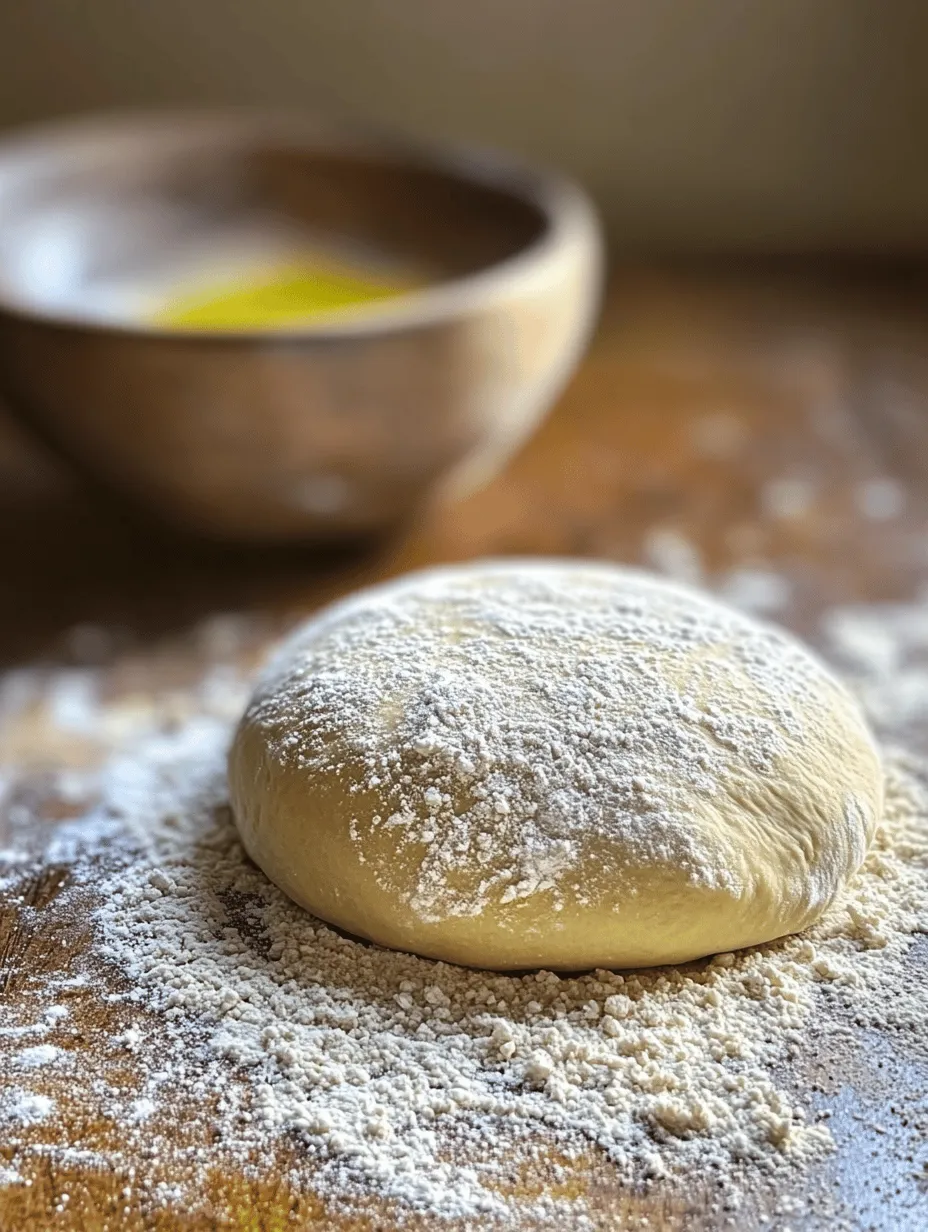
As the dough starts to come together, it’s time to switch from the spoon to your hands. Lightly flour your work surface and turn the dough out onto it. Knead the dough by pressing it down with the heels of your hands, folding it over, and repeating the process. Kneading helps to develop the gluten, which is essential for the dough’s structure and texture.
Continue kneading for about 8 to 10 minutes, or until the dough becomes smooth and elastic. If the dough feels too sticky, you can sprinkle a little extra flour on the work surface, but be careful not to add too much, as this can result in a dry dough. The goal is to achieve a soft, pliable dough that springs back when poked.
As you knead, take a moment to appreciate the transformation happening before your eyes. The dough will start to come together, becoming less sticky and more cohesive. This tactile experience is one of the joys of making pizza dough from scratch and will make your final product even more rewarding.
In the next section, we will continue with the fermentation process and how to shape your dough for the perfect pizza. Get ready to dive into the next steps of creating your artisan pizza masterpiece!
Kneading the Dough
Kneading is a crucial step in making artisan pizza dough as it develops the gluten structure necessary for a chewy and elastic crust. To knead effectively, use the following techniques:
1. Hand Kneading: Transfer the dough to a lightly floured surface. Using your palms, push the dough away from you while folding it over itself. Rotate the dough a quarter turn and repeat the process. This method allows you to feel the texture and elasticity of the dough as it develops.
2. Stand Mixer: If you prefer a more hands-off approach, use a stand mixer fitted with a dough hook. Start at a low speed to combine the ingredients, then increase to medium speed for about 8-10 minutes. The dough should pull away from the sides of the bowl and become smooth and elastic.
Signs of Well-Kneaded Dough
Knowing when your dough is properly kneaded is essential. Look for these signs:
– Elasticity: When you stretch a small piece of dough, it should stretch without tearing. This indicates that the gluten has developed sufficiently.
– Smooth Texture: The surface of the dough should feel smooth and slightly tacky, not overly sticky or dry.
– Spring Back: Press your finger gently into the dough; it should spring back quickly, indicating that it has the right amount of elasticity.
The Rising Process
After kneading, the dough needs time to rise, allowing fermentation to occur. This process is vital for developing flavor and texture.
– Explanation of Dough Rising and Fermentation: During the rising phase, yeast produces carbon dioxide, which causes the dough to expand. This fermentation also contributes to the flavor profile of the dough, creating a depth that enhances the overall pizza experience.
– Ideal Conditions for Dough Rising: For optimal rising, place the dough in a warm, draft-free area. A temperature between 75°F to 85°F (24°C to 29°C) is ideal. If your kitchen is cooler, consider placing the dough in an oven that has been preheated briefly and then turned off, or near a warm stove. Cover the dough with a damp cloth or plastic wrap to retain moisture.
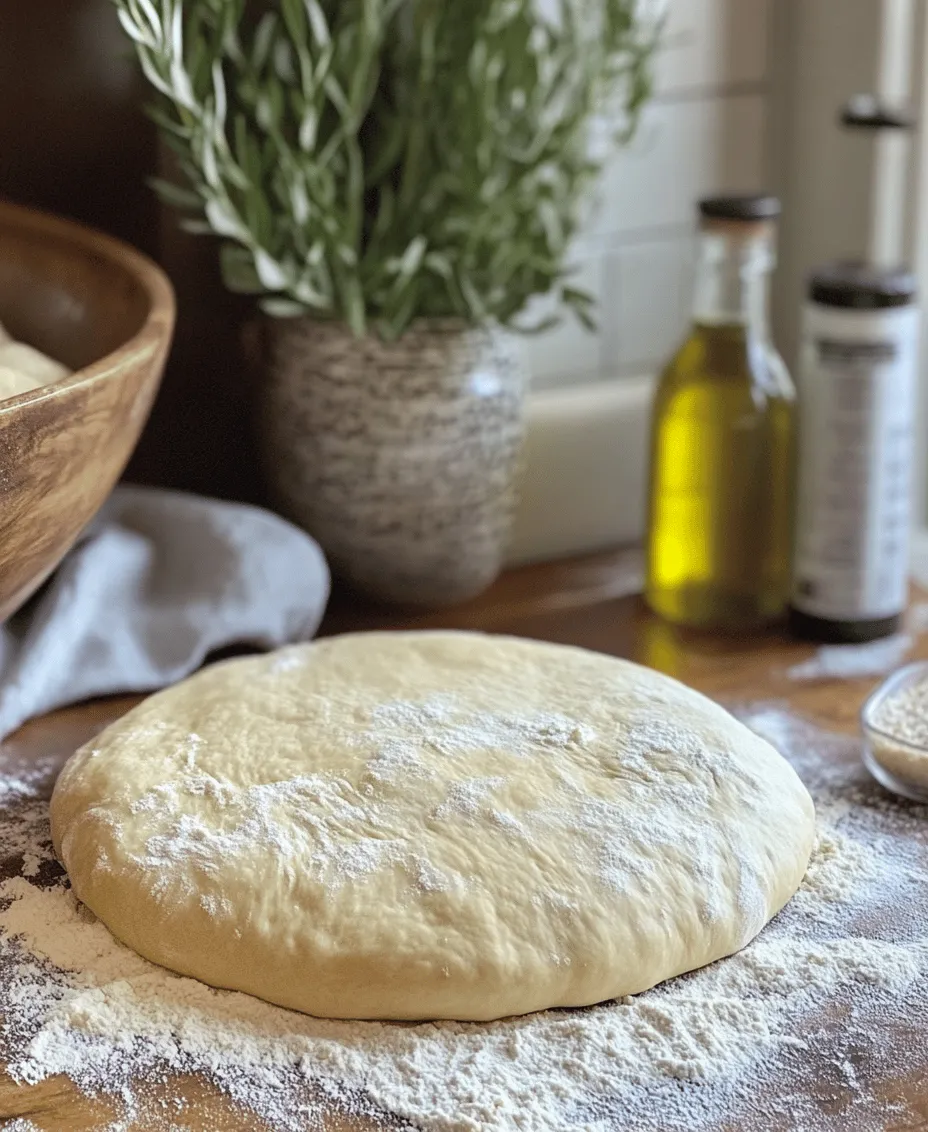
Dividing and Resting the Dough
Once the dough has doubled in size, it’s time to divide it for individual pizzas.
– How to Properly Divide the Dough: Gently punch down the risen dough to release excess gas. Turn it out onto a floured surface and divide it into equal portions, depending on how many pizzas you want to make. A standard pizza is about 10-12 ounces for a 12-inch pie. Use a bench scraper or a sharp knife to cut the dough.
– Importance of Resting for Gluten Development: After dividing, let each portion rest for 15-20 minutes, covered with a towel. This resting period relaxes the gluten, making it easier to stretch and shape the dough later.
Prepping for Baking
Before you start shaping your pizza, it’s essential to prepare your oven and workspace for the best results.
Preheating Your Oven
– Ideal Temperatures for Baking Pizza: Preheat your oven to its highest setting, typically between 475°F to 500°F (245°C to 260°C). A hot oven is critical for achieving that crispy crust.
– Role of a Pizza Stone versus a Baking Sheet: If you have a pizza stone, place it in the oven while preheating. A pizza stone retains heat and creates a crispier crust by absorbing moisture from the dough. If you don’t have a stone, a heavy baking sheet turned upside down can work as an alternative.
Shaping the Dough
Shaping the dough is where your creativity can shine.
– Techniques for Stretching and Shaping: Start by flattening the dough ball with your fingers, gently pressing from the center outward while leaving the edges thicker for the crust. Lift the dough, letting gravity help it stretch. For a more uniform shape, you can use a rolling pin, but be cautious not to deflate the dough too much.
– How to Avoid Common Pitfalls like Tearing: If the dough resists stretching, allow it to rest for a few more minutes. Avoid using too much flour while shaping, as this can hinder the dough’s ability to rise in the oven.
Adding Toppings
Now that your dough is shaped, it’s time to add toppings. The options are endless, but here are some suggestions:
– Suggestions for Classic and Innovative Toppings: For a classic Margherita, use a tomato base, fresh mozzarella, basil, and a drizzle of olive oil. If you’re feeling adventurous, consider unique toppings like fig and prosciutto, pear and gorgonzola, or a spicy buffalo chicken mix.
– Tips for Balancing Flavors and Textures: Aim for a balance of flavors and textures. If using rich toppings like cheese or meats, contrast them with fresh ingredients like arugula or cherry tomatoes. Also, remember that less is often more; avoid overcrowding the pizza to ensure even cooking.
Baking Your Pizza
The moment you’ve been waiting for is finally here: baking your pizza.
Transferring to the Oven
– Best Practices for Moving Pizza onto the Stone or Sheet: Use a pizza peel or a flat baking sheet to transfer the pizza. Dust it lightly with flour or cornmeal to prevent sticking. Once your pizza is topped, gently slide it onto the preheated stone or baking sheet.
– How to Ensure the Crust Doesn’t Stick: Always ensure your surface is well-floured before placing the dough on it. If the dough sticks to your peel, use a spatula to gently loosen it before transferring.
Baking Time and Techniques
– Signs Your Pizza is Ready to Be Removed from the Oven: Keep an eye on your pizza as it bakes. You’ll know it’s done when the cheese is bubbly and golden, and the crust has developed a nice brown color.
– Tips for Achieving the Perfect Golden Crust: If you want an extra crispy crust, consider baking your pizza for the last few minutes on the oven’s bottom rack. This helps to crisp the bottom without overcooking the toppings.
Serving Your Artisan Pizza
Once your masterpiece is out of the oven, it’s time to serve!
– Best Practices for Slicing and Serving: Let your pizza cool for a couple of minutes before slicing. This allows the cheese to set slightly, making it easier to cut. Use a sharp pizza cutter or a chef’s knife for clean slices.
– Ideas for Pairing with Drinks or Side Dishes: Pair your artisan pizza with a refreshing salad, garlic bread, or a side of roasted vegetables. For drinks, a light beer or a glass of Chianti complements pizza beautifully.
Conclusion
Mastering artisan pizza dough is a rewarding endeavor that opens the door to endless culinary creations. With the right ingredients and techniques, you can create a pizza that is not only delicious but also tailored to your personal taste. Whether you choose classic toppings or venture into gourmet territory, the foundation of your pizza will be this artisanal dough recipe. Enjoy your homemade masterpiece, and remember that practice makes perfect. With each pizza you make, you will grow more confident in your baking skills and develop your unique style in the kitchen.