
Introduction
Heart-shaped breadsticks are not just a delightful twist on a classic favorite; they are a heartfelt way to express love and affection through food. Whether you’re planning a romantic dinner for two, celebrating an anniversary, or preparing for a family gathering, these charming breadsticks are the perfect addition to your table. Their unique shape adds a personal touch to any meal, making them ideal for special occasions like Valentine’s Day or a cozy family dinner.
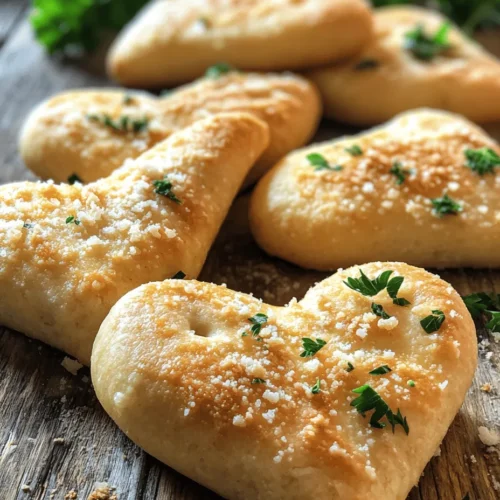
The appeal of heart-shaped breadsticks lies not only in their romantic presentation but also in their delicious flavor and irresistible texture. Imagine warm, soft breadsticks with a crispy exterior, lightly seasoned with herbs and spices, and perhaps topped with a sprinkle of Parmesan cheese. Each bite is a delightful combination of savory and aromatic flavors that will leave your guests wanting more. Whether served as a side dish, an appetizer, or even a snack, these breadsticks are sure to impress.
Understanding the Ingredients
To create the perfect heart-shaped breadsticks, it’s essential to understand the role each ingredient plays in the recipe. Here’s a closer look at the key components that will come together to create this delightful culinary treat.
All-Purpose Flour
All-purpose flour is the foundation of our breadsticks, providing the structure and texture that we desire. The protein content in all-purpose flour, usually around 10-12%, ensures that we achieve a good balance between chewiness and tenderness. When kneaded, the flour develops gluten, which is crucial for trapping air and giving the breadsticks their light and airy nature.
To achieve the best results, it’s important to measure the flour correctly. Using a kitchen scale is recommended, as it provides a more accurate measurement than scooping directly from the bag. This small step can make a significant difference in the final texture of your breadsticks.
Instant Yeast
Instant yeast, often referred to as rapid-rise yeast, is a game changer in bread baking. Unlike active dry yeast, instant yeast does not require proofing before being mixed into the dough. This means that you can save time without compromising on flavor or texture. Instant yeast works quickly, allowing the dough to rise efficiently, resulting in soft and fluffy breadsticks.
When using instant yeast, it’s crucial to store it properly to maintain its potency. Keep it in an airtight container in a cool, dry place, or refrigerate it for longer-lasting freshness. This will ensure that your breadsticks rise beautifully every time.
Warm Water
Water is another essential ingredient in our breadstick recipe. The temperature of the water is critical for activating the yeast. Ideally, it should be warm—between 105°F and 110°F (40°C to 43°C)—to create the perfect environment for yeast activation. Too hot and you’ll risk killing the yeast; too cold and the yeast may not activate properly.
When combining the warm water with the yeast, be sure to let it sit for a few minutes. You’ll notice the yeast foaming, which is a sign that it’s alive and ready to help your dough rise.
Sugar and Salt
Sugar plays a dual role in our breadsticks. First, it provides nourishment for the yeast, aiding in the fermentation process and helping the dough rise. Second, it adds a subtle sweetness that enhances the overall flavor of the breadsticks. Just a small amount of sugar can make a big difference in the taste.
On the other hand, salt is essential for balancing flavors. It not only enhances the overall taste but also strengthens gluten, contributing to the structure of the breadsticks. The ideal balance of sugar and salt creates a well-rounded flavor profile that will leave your taste buds satisfied.
Olive Oil
Olive oil is a flavorful addition that contributes to the overall texture and richness of the breadsticks. It adds moisture to the dough while also creating a tender crumb. Additionally, olive oil brings a subtle, fruity flavor that pairs beautifully with the herbs and spices we’ll be using.
When choosing olive oil, opt for extra virgin olive oil for the best flavor. Its robust taste will elevate your breadsticks, making them even more enjoyable.
Herbs and Spices
To enhance the flavor profile of our heart-shaped breadsticks, we’ll incorporate a blend of herbs and spices. Garlic powder adds a savory depth that complements the breadsticks perfectly, while oregano provides an aromatic touch that harks back to traditional Italian bread. For those who enjoy a bit of heat, a sprinkle of red pepper flakes can bring a delightful kick to the flavor, making each bite an exciting experience.
Toppings and Garnishes
Finally, we can’t forget about the toppings and garnishes that will elevate our heart-shaped breadsticks to the next level. A sprinkle of freshly grated Parmesan cheese adds a salty, nutty flavor that pairs perfectly with the herbs. Additionally, finely chopped parsley not only contributes a fresh taste but also adds a pop of color, making your breadsticks visually appealing.
Step-by-Step Guide to Making Heart-Shaped Breadsticks
Now that we’ve covered the ingredients and their roles, let’s move on to the step-by-step process of making these delightful heart-shaped breadsticks. Follow these detailed instructions to ensure a successful baking experience.
Preparing the Dough
1. Activate the Yeast: In a small bowl, combine the warm water and sugar. Sprinkle the instant yeast over the top and let it sit for about 5-10 minutes until it becomes frothy. This step is crucial for ensuring your yeast is active and ready to help your dough rise.
2. Mixing Dry Ingredients: In a large mixing bowl, combine the all-purpose flour, garlic powder, oregano, salt, and red pepper flakes. Whisk these dry ingredients together until they are evenly mixed. This helps to avoid clumps and ensures a uniform distribution of flavors throughout the dough.
3. Combining Ingredients: Once the yeast mixture is frothy, add it to the bowl of dry ingredients along with the olive oil. Using a wooden spoon or a spatula, mix the ingredients together until a shaggy dough begins to form. At this point, you may need to adjust the flour or water slightly to achieve the right consistency; the dough should be slightly sticky but manageable.
4. Kneading the Dough: Transfer the dough to a lightly floured surface and begin kneading it for about 8-10 minutes. Kneading is essential for developing gluten and achieving the desired texture. If the dough is too sticky, you can add a little more flour as needed, but be careful not to add too much, as this can make the breadsticks tough.
5. First Rise: Once the dough is smooth and elastic, shape it into a ball and place it in a greased bowl. Cover it with a damp cloth or plastic wrap and let it rise in a warm, draft-free area for about 1 hour, or until it has doubled in size. This first rise is crucial for developing flavor and texture in your breadsticks.
By following these initial steps, you’ll be well on your way to creating delicious heart-shaped breadsticks that are sure to impress. The combination of quality ingredients, proper technique, and a little love will result in a delightful treat that everyone will enjoy. Stay tuned for the next part of this recipe, where we will shape and bake these delightful breadsticks to perfection.
Mixing Wet and Dry Ingredients Effectively
When preparing the dough for heart-shaped breadsticks, the way you mix your wet and dry ingredients can greatly affect the texture and rise of your final product. Start by measuring out your dry ingredients—flour, salt, and any additional seasonings—into a large mixing bowl. In a separate bowl, combine your wet ingredients, which typically include warm water, yeast, and olive oil.
To ensure that your yeast activates properly, make sure that the water is warm but not hot, around 110°F (43°C). This temperature helps awaken the yeast without killing it. After combining the wet ingredients, allow them to sit for about five minutes until the mixture becomes frothy, indicating that the yeast is active.
Next, gradually add the wet mixture into the bowl of dry ingredients. Use a spatula or wooden spoon to gently stir the mixture until it begins to come together. It is crucial at this stage to avoid overmixing, as doing so can lead to a tougher breadstick. Aim for a shaggy dough that still has some dry flour visible, which can be incorporated as you knead the dough.
Kneading Technique
Kneading is a vital step in developing the gluten structure of your breadsticks, which gives them that chewy, satisfying texture. Once your dough has come together, turn it out onto a lightly floured surface. Using the heels of your hands, push the dough away from you, then fold it back over itself. Rotate the dough a quarter turn and repeat this process.
Kneading should be done for about 8 to 10 minutes. You’ll know the dough is ready when it becomes smooth and elastic and springs back when poked gently with a fingertip. If the dough is too sticky, sprinkle in a little more flour as needed, but be cautious not to add too much, as this could lead to dry breadsticks.
First Rise: Importance and Tips
The first rise is critical for developing flavor and texture. After kneading, place the dough in a lightly greased bowl, cover it with a clean kitchen towel or plastic wrap, and set it in a warm, draft-free location. Ideally, the temperature should be around 75°F to 85°F (24°C to 29°C).
Allow the dough to rise until it has doubled in size, which usually takes about 1 to 1.5 hours. If your kitchen is on the cooler side, you can create a warm environment by preheating your oven to the lowest setting for a few minutes, then turning it off and placing the dough inside.
Shaping the Breadsticks
Dividing the Dough
Once your dough has risen, it’s time to shape the breadsticks. Begin by gently punching down the dough to release any air bubbles that have formed during the first rise. Turn the dough out onto a floured surface. Use a sharp knife or bench scraper to divide the dough into equal portions. For heart-shaped breadsticks, aim for pieces that are about 1 ounce each. This will ensure that all your breadsticks bake evenly.
Rolling and Shaping
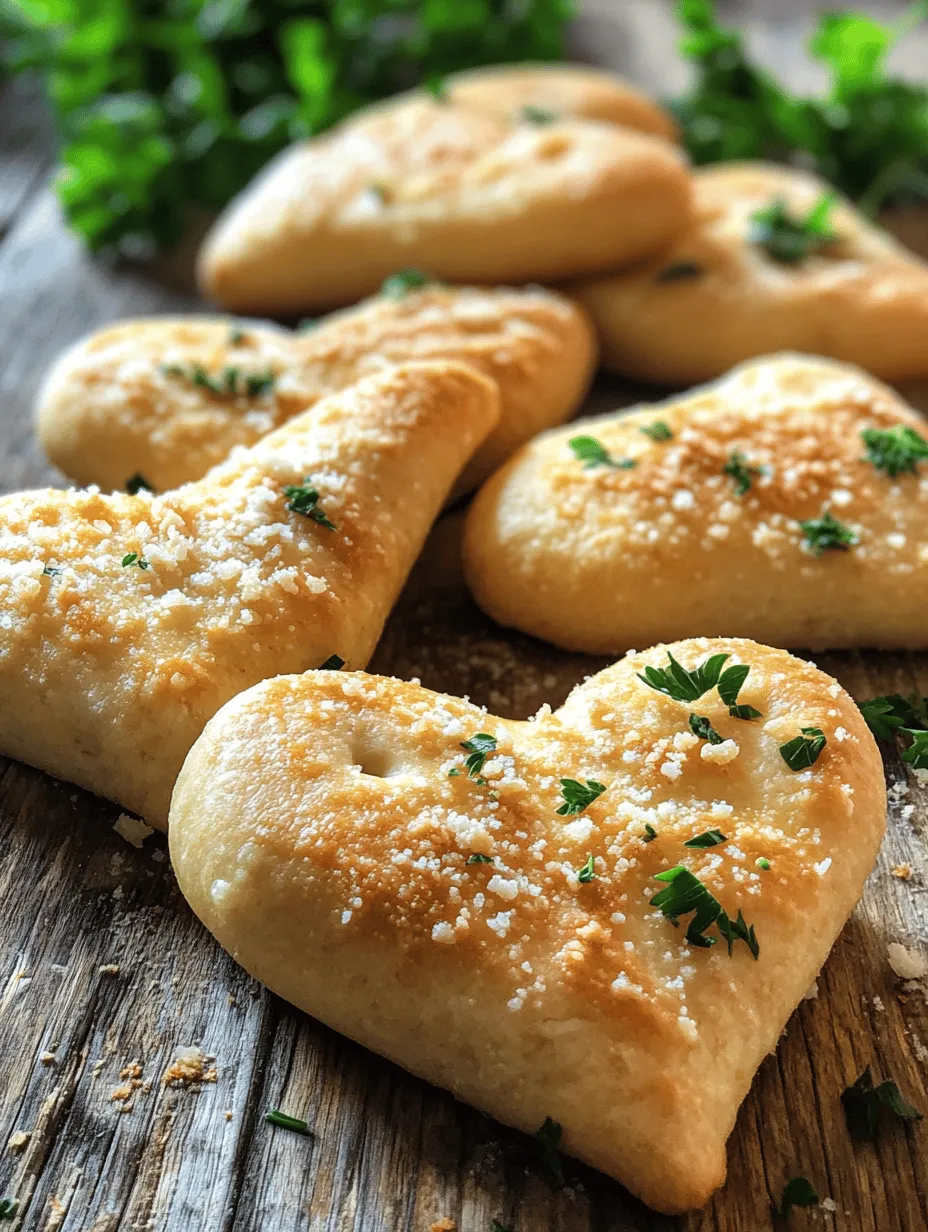
To create the heart shape, take one piece of dough and roll it into a long rope, about 12 inches in length. Then, form the dough into a heart shape by bringing the two ends together at the top and curving the bottom part downwards. Pinch the ends together to secure the shape. Repeat this process for the remaining portions of dough.
For added flair, consider rolling some pieces thinner for a more delicate breadstick, or experimenting with twisted shapes by rolling two pieces of dough together before forming the heart.
Second Rise: What to Expect
After shaping your breadsticks, it’s important to let them rise again, known as the second rise. Place the shaped breadsticks on a parchment-lined baking sheet, making sure to leave plenty of space in between for expansion. Cover them loosely with a kitchen towel and allow them to rise for another 30 to 45 minutes.
You’ll know they are ready when they have puffed up noticeably. This second rise is essential for achieving a light and airy texture in your breadsticks.
Baking the Breadsticks
Oven Preparation
While the breadsticks are rising, preheat your oven to 375°F (190°C). Preheating is crucial as it ensures that the breadsticks experience a good oven spring, which helps them rise even further while baking.
Brushing and Topping
Before placing the breadsticks in the oven, brush the tops lightly with olive oil. This not only adds flavor but also helps to achieve a golden-brown color as they bake. For an extra touch, sprinkle freshly grated Parmesan cheese, garlic powder, or Italian herbs on top of the brushed breadsticks for added flavor and visual appeal.
Baking Time and Indicators for Doneness
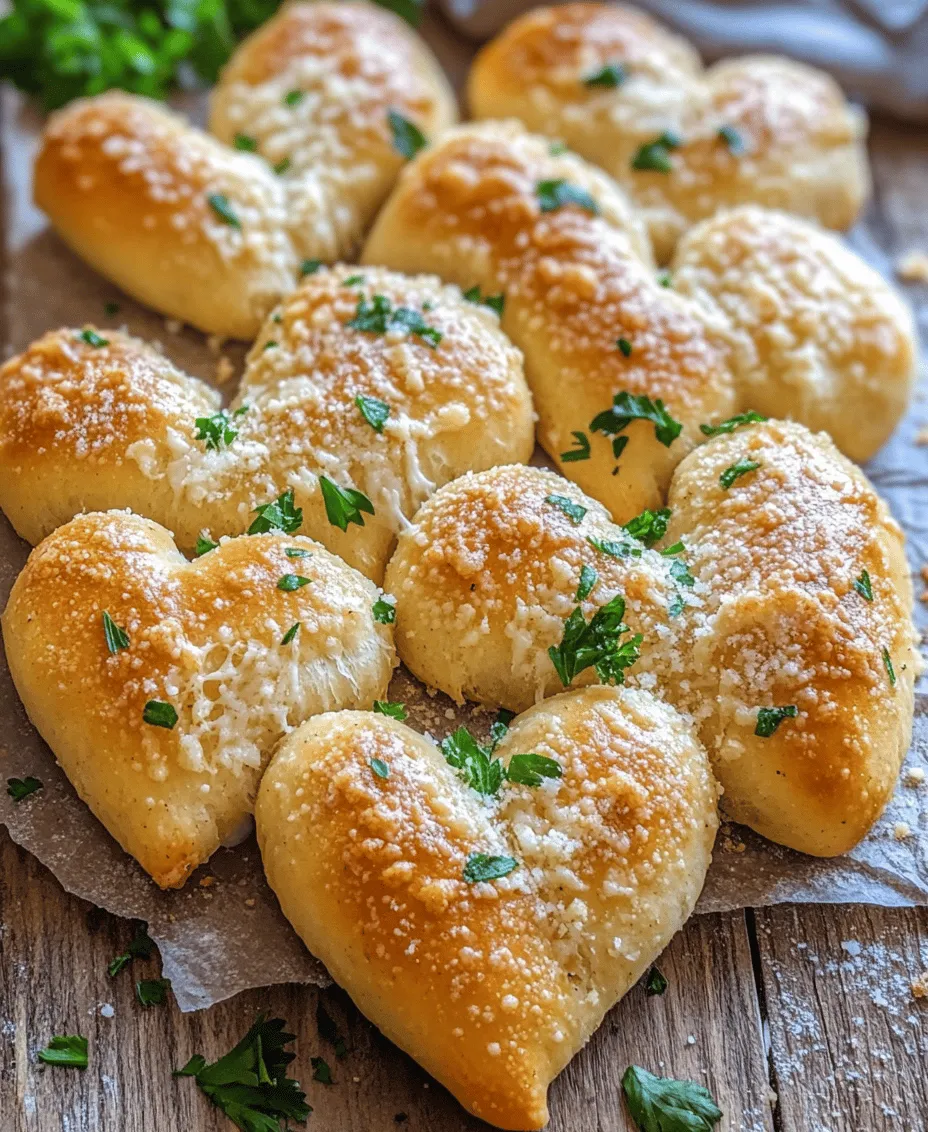
Bake the breadsticks in the preheated oven for about 15 to 20 minutes. Keep an eye on them towards the end of the baking time. You’ll know they are perfectly baked when they are golden brown on top and sound hollow when tapped on the bottom.
Serving Suggestions
Presentation Ideas
Heart-shaped breadsticks are not only delicious but also visually appealing, making them a fantastic addition to any meal or special occasion. Serve them warm, straight from the oven, in a charming basket lined with a cloth napkin. For an added touch, you can arrange them on a platter in a whimsical heart shape or even use them as a centerpiece for a romantic dinner.
Pairing Recommendations
These breadsticks pair beautifully with a variety of dips and sauces. Consider serving them alongside marinara sauce for a classic Italian touch, or offer a garlic and herb-infused olive oil for dipping. You might also try a creamy spinach dip or a zesty pesto for a flavorful option. Additionally, they can complement soups or salads, making them a versatile side dish for any meal.
Conclusion
Making heart-shaped breadsticks is not just about creating a delicious treat; it’s about the joy and satisfaction of homemade baking. The entire process, from mixing the ingredients to shaping and baking, allows you to connect with the food and express creativity. Whether you are preparing them for a special occasion, a family meal, or just as a delightful snack, these heart-shaped breadsticks are sure to impress.
We encourage you to try your hand at this recipe and experience the warmth of sharing homemade breadsticks with your loved ones. The aroma that fills your kitchen while baking is only matched by the joy of enjoying these delightful creations together, making every bite a cherished moment. Embrace the art of baking, and let these heart-shaped breadsticks become a beloved staple in your culinary repertoire.