Introduction
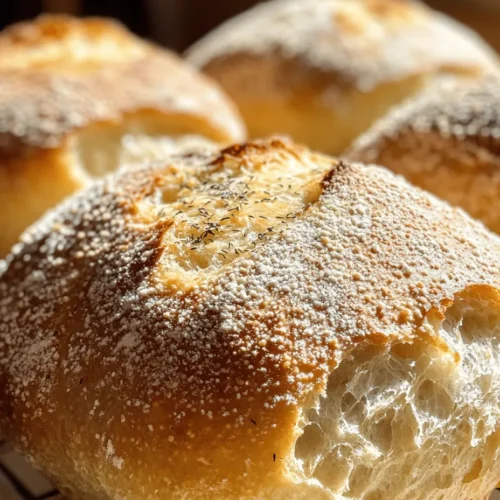
Stovetop Surprise Bread is an innovative and delightful recipe that brings the joy of homemade bread to your kitchen without the need for an oven. Imagine biting into a warm, fluffy loaf, its crust perfectly golden and its interior soft and tender. This stovetop method allows both beginners and seasoned bakers to create fresh bread any time of day, making it an ideal choice for those who crave the comforting aroma of baked goods but may lack conventional baking equipment.
The beauty of Stovetop Surprise Bread lies in its simplicity. With minimal ingredients and a straightforward process, you can whip up a delicious loaf that’s perfect for breakfast, lunch, or dinner. Whether you’re slathering it with butter, using it for sandwiches, or serving it alongside soups and salads, the versatility of this bread is one of its many charms. In this article, we’ll delve into the fascinating history of bread-making, explore the unique attributes of stovetop cooking, and provide a step-by-step guide to creating this easy recipe.
Understanding the Basics of Bread-Making
Defining Bread: Its Role in Culinary Culture
Bread has been a staple in human diets for thousands of years, serving as a fundamental source of nourishment across various cultures. From the ancient Egyptians who first harnessed the power of yeast to modern-day bakers experimenting with flavors and textures, bread represents more than just food; it embodies tradition, community, and creativity. In many cultures, breaking bread together is a symbol of friendship and hospitality, making it a cherished element of shared meals.
Exploring Different Types of Bread
The world of bread is incredibly diverse, with countless varieties reflecting local ingredients, climates, and culinary traditions. From crusty sourdoughs to soft brioche, each type of bread offers distinct flavors and textures. Flatbreads like pita and naan are common in Middle Eastern and Indian cuisines, while Italian focaccia and French baguettes showcase regional baking styles. Understanding these differences not only enriches our appreciation for bread but also inspires us to experiment with our own recipes.
The Science of Yeast and Dough Rising
At the heart of bread-making lies the magical process of fermentation, primarily driven by yeast. Yeast is a living organism that, when activated, consumes sugars and releases carbon dioxide and alcohol. This fermentation process is crucial for dough rising, creating the airy texture we associate with freshly baked bread. Understanding the role of yeast allows bakers to manipulate rising times and achieve desired outcomes, whether it be a light and fluffy loaf or a denser, chewier bread.
The Importance of Ingredients in Bread Recipes
Every ingredient in bread contributes to the final product’s flavor, texture, and appearance. Flour, water, yeast, and salt are the primary components, but variations can include fats like oil or butter, sweeteners, and herbs. All-purpose flour is commonly used for its versatility, while whole wheat and specialty flours offer unique flavors and nutritional benefits. Understanding the purpose of each ingredient helps bakers make informed choices and adapt recipes to suit their tastes.
The Appeal of Stovetop Cooking
Advantages of Stovetop Bread-Making
Stovetop cooking offers several advantages, particularly for those who may not have access to an oven or prefer a quicker method. For one, it’s an efficient way to make bread without preheating an oven, saving both energy and time. Additionally, stovetop cooking allows for greater control over the bread-making process. Bakers can easily monitor the heat and adjust it as needed, helping to prevent over-baking or uneven cooking.
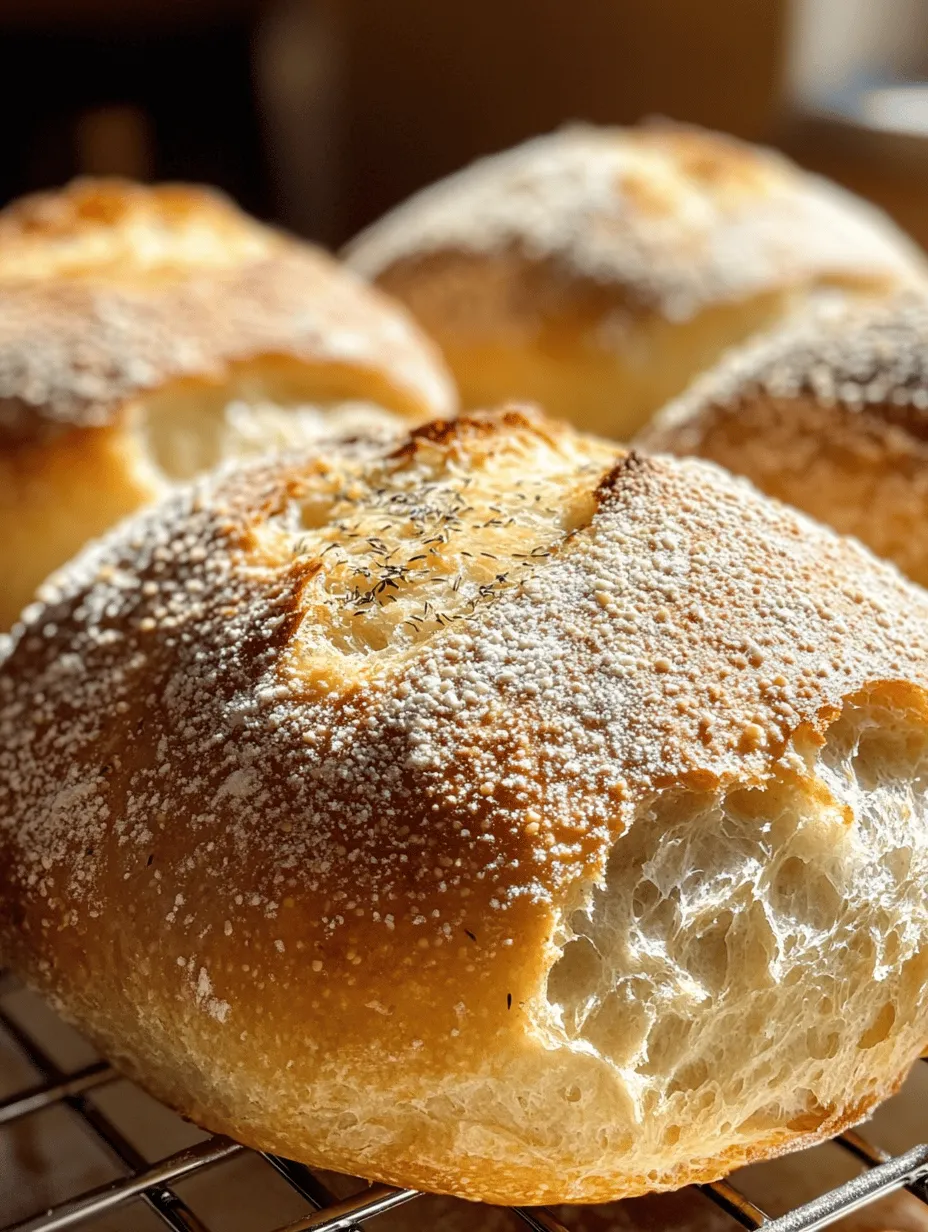
Furthermore, stovetop bread-making often results in a beautifully textured loaf. The steam created while cooking on the stovetop contributes to a crisp crust, while the controlled heat ensures that the inside remains perfectly cooked. This method also makes it easier to experiment with flavors and ingredients, as you can adjust the recipe based on what you have on hand.
Comparing Stovetop and Oven Baking
While oven baking is the traditional method for making bread, stovetop cooking presents a compelling alternative. Oven baking typically yields a more uniform bake and can accommodate larger quantities, making it ideal for big batches. However, stovetop bread-making can be more forgiving for novice bakers. It requires less precision regarding temperature and timing, allowing for a more relaxed approach to the baking process.
How Stovetop Cooking Affects Texture and Flavor
Cooking bread on the stovetop can significantly impact its texture and flavor. The direct heat creates a crust that is often thicker and more flavorful than that produced in an oven. This effect is particularly pronounced when using a heavy-bottomed pot or pan that retains heat well. The steam generated during cooking helps to keep the bread moist, allowing for a light and airy crumb. Additionally, the stovetop method allows for creative adaptations, such as adding herbs or spices to the dough for an extra burst of flavor.
Addressing the Myths of Stovetop Bread
Despite its advantages, many home bakers may shy away from stovetop bread-making due to misconceptions about its effectiveness. Some believe that stovetop cooking simply cannot replicate the results of an oven, but this is a myth. With the right techniques and equipment, stovetop bread can be just as delicious and satisfying as its oven-baked counterparts. By understanding the science behind the process and following proven methods, bakers can confidently embrace this innovative approach.
Ingredients Breakdown
Overview of Essential Ingredients
Before diving into the recipe, it’s important to understand the key ingredients that will come together to create your Stovetop Surprise Bread. Each component plays a vital role in achieving the perfect loaf, from the base flour to the flavor-enhancing herbs.
All-Purpose Flour: A Versatile Base
All-purpose flour is the foundation of most bread recipes, including this one. Its moderate protein content allows for good gluten development, which is essential for chewy and elastic dough. All-purpose flour is widely available and versatile, making it suitable for a variety of baked goods beyond bread, such as cookies, cakes, and pastries.
Active Dry Yeast: The Key to Rise
Active dry yeast is a crucial ingredient in bread-making, as it provides the leavening needed for the dough to rise. It is a dormant form of yeast that must be reactivated in warm water before being added to the flour mixture. Choosing fresh yeast is important for optimal rising; make sure to check the expiration date on the package to ensure your bread rises beautifully.
Warm Water: Activating Yeast
Warm water is essential for activating the yeast and creating the perfect environment for fermentation. The ideal temperature for yeast activation is between 100°F and 110°F (37°C to 43°C). Water that is too hot can kill the yeast, while water that is too cold will not activate it effectively. Once activated, the yeast will begin to produce carbon dioxide, which will help the dough rise.
Olive Oil: Enhancing Flavor and Texture
Adding olive oil to the dough not only enhances the flavor but also contributes to a tender crumb. Fats like oil coat the flour proteins, which can inhibit gluten formation, resulting in a softer texture. Olive oil also adds moisture to the bread, helping to keep it fresh and prolonging its shelf life.
Sugar and Salt: Balancing Taste
Sugar serves multiple purposes in bread-making; it not only adds sweetness but also helps to feed the yeast, promoting fermentation. Salt, on the other hand, strengthens gluten and enhances flavor. It’s important to use the right amounts of both sugar and salt; too much sugar can inhibit yeast activity, while too much salt can slow down fermentation.
Herbs de Provence: Adding a Unique Twist
To elevate your Stovetop Surprise Bread, consider incorporating Herbs de Provence or other herbs of your choice. This blend adds aromatic flavors that can transform a simple loaf into something truly special. Whether you prefer the classic combination of thyme, rosemary, and basil or want to experiment with other herbs, this ingredient allows for personalization and creativity.
The Role of Cornmeal: A Dusting Delight
Cornmeal serves as a delightful dusting for the bottom of the pan, preventing the bread from sticking and adding a subtle crunch to the crust. It also contributes a slightly sweet flavor that complements the bread beautifully. If you don’t have cornmeal on hand, semolina or flour can serve as alternatives.
Step-by-Step Instructions for Stovetop Surprise Bread
Preparing the Yeast Mixture
To start your Stovetop Surprise Bread, you’ll first need to prepare the yeast mixture. In a small bowl, combine warm water and sugar, then sprinkle the active dry yeast on top. Allow it to sit for about 5-10 minutes until it becomes frothy. This indicates that the yeast is active and ready to work its magic in the dough.
Combining Dry Ingredients: Creating the Base
While the yeast is activating, gather your dry ingredients in a large mixing bowl. Combine the all-purpose flour and salt, mixing well to ensure even distribution. Creating a well in the center of the dry ingredients will make it easier to incorporate the wet ingredients later.
Kneading the Dough: Techniques for Success
Once the yeast mixture is frothy, pour it into the well you’ve created in the dry ingredients. Add in the olive oil and begin mixing with a wooden spoon or your hands until the dough starts to come together. Transfer the mixture to a lightly floured surface and begin kneading. Knead the dough for about 8-10 minutes, until it is smooth and elastic. This step is crucial as it develops the gluten structure, which will give your bread its delightful texture.
As you knead, you may find that the dough is sticky. Don’t be tempted to add too much flour; a slightly tacky dough will yield a softer loaf. If the dough is overly sticky, sprinkle just a bit of flour as needed.
With these initial steps, you’re well on your way to creating a delicious loaf of Stovetop Surprise Bread. Stay tuned for the next part, where we will continue with the final instructions and tips for achieving the perfect bake.
First Rise: Achieving the Perfect Volume
Once your dough is mixed, it’s time for the first rise. This crucial step allows the yeast to activate, making your bread light and airy. To achieve the perfect volume, transfer the dough into a lightly greased bowl, cover it with a damp cloth or plastic wrap, and place it in a warm, draft-free environment. This could be near a warm stove or on top of your refrigerator.
Allow the dough to rise for about 1 to 2 hours, or until it has doubled in size. The warm environment is essential for yeast fermentation, which produces carbon dioxide that makes the dough expand. If your kitchen is cool, consider preheating your oven briefly, then turning it off and placing the dough inside for a gentle rise.
Shaping the Loaves: Techniques for Forming
After the dough has risen, it’s time to shape it into loaves. Turn the dough out onto a lightly floured surface and gently deflate it by pressing it down with your palms. Divide the dough into equal portions depending on the size of loaves you want. For standard-sized loaves, aim for portions of around 8 ounces each.
To shape the loaves, follow these steps:
1. Flatten Each Portion: Gently flatten the dough using your fingers, being careful not to overwork it.
2. Fold: Bring the edges of the dough towards the center, pinching them together to seal.
3. Roll: Flip the dough seam side down and roll it gently into a log shape, ensuring it’s even.
4. Final Pinch: Pinch the seams together to secure the shape.
Once shaped, place the loaves seam side down on a parchment-lined plate or baking sheet. Cover them with a cloth and let them rest for an additional 30 minutes to allow them to regain some moisture and rise slightly.
Preparing the Skillet: The Importance of Cornmeal
While the loaves are resting, prepare your skillet for cooking. Using a cast-iron skillet or a heavy-bottomed pan is ideal for even heat distribution. The unique aspect of this bread recipe is the stovetop cooking method, which requires a non-stick surface to prevent the bread from sticking.
Sprinkle a generous layer of cornmeal onto the bottom of the skillet. This serves two purposes: it adds flavor and texture to the bottom of the bread while ensuring that it won’t stick during cooking. If you don’t have cornmeal, you can use flour, but cornmeal provides a delightful crunch and a slightly sweet flavor.
Cooking the Bread: Temperature and Timing
Now, it’s time to cook your loaves! Place the skillet on the stovetop over low to medium heat. It’s crucial to control the temperature to ensure that the outside of the bread cooks evenly without burning while allowing the inside to cook through.
Once the skillet is heated, carefully place the shaped loaves into the skillet, leaving space between them for expansion. Cover the skillet with a lid to create a mini-oven effect, trapping heat and steam.
Cook the bread for about 15-20 minutes on one side. Check for a golden brown color before flipping. To flip, use a large spatula to gently lift the bread and turn it over. Cook the other side for an additional 10-15 minutes, monitoring closely to avoid burning.
To ensure the bread is fully cooked, tap the bottom of the loaves; they should sound hollow. If you have a food thermometer, the internal temperature should reach about 190°F (88°C).
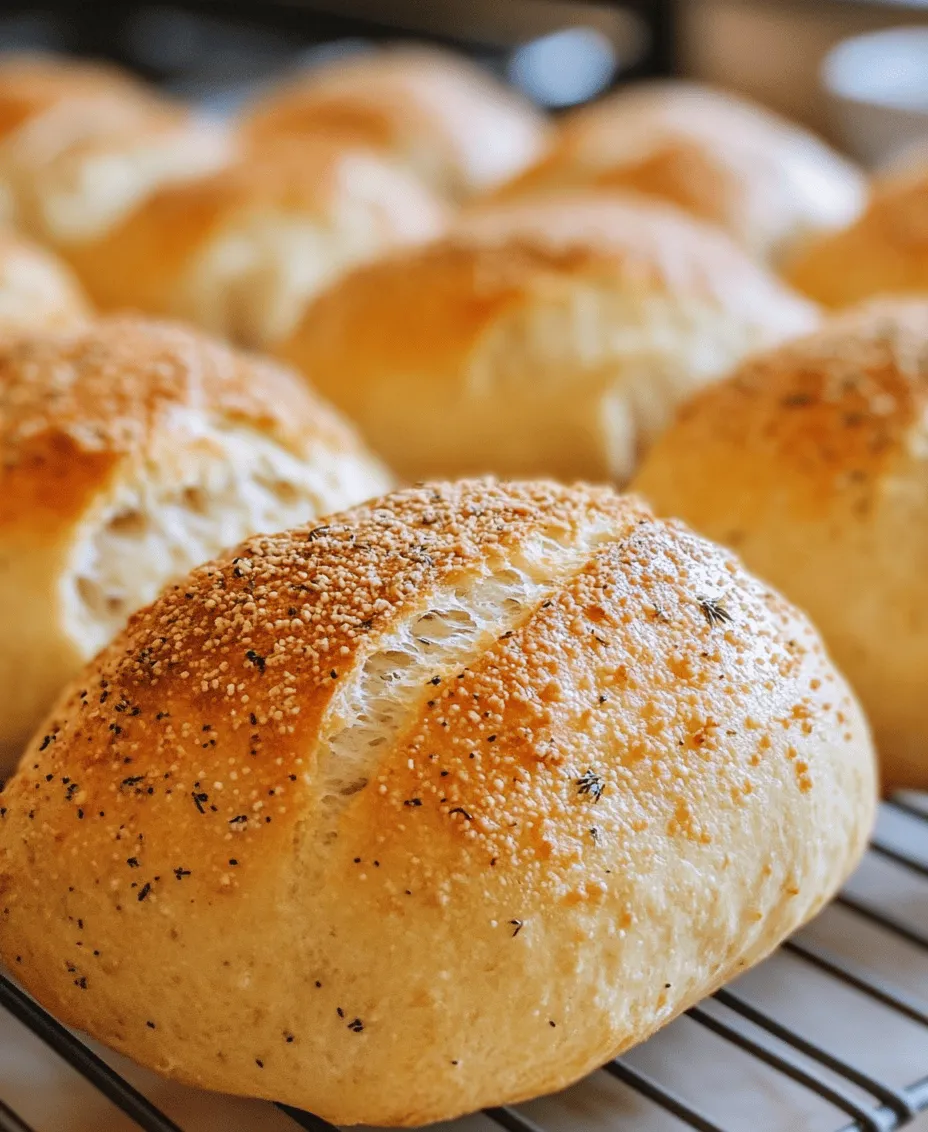
Cooling and Serving: The Final Touch
Once the bread is cooked, remove it from the skillet and place it on a wire rack to cool. Cooling is essential as it allows the steam to escape and prevents the bottom from becoming soggy.
Let it cool for at least 10 minutes before slicing. This bread is best served warm, as it has a soft, tender crumb. You can enjoy it plain or with a variety of toppings.
Common Mistakes to Avoid When Making Bread
Overworking the Dough: Recognizing the Signs
One common mistake when making bread is overworking the dough, which can lead to a tough texture. If you notice that the dough is excessively sticky or elastic, you may have over-kneaded it. Aim for a smooth, pliable texture without excessive elasticity.
Not Enough Rise: Troubleshooting Yeast Activation
If your dough doesn’t rise adequately, this may indicate that your yeast is inactive. Always check the expiration date on your yeast, and ensure you’re using the right water temperature when activating it. Water that’s too hot can kill yeast, while water that’s too cold can prevent it from activating.
Improper Heat Levels: The Balance Between Low and Medium
Finding the right heat level is crucial for stovetop cooking. If the heat is too low, the bread may not cook through, while too high a temperature can burn the outside before the inside is fully cooked. Adjust the heat as necessary, and consider using a stove thermometer to gauge the temperature accurately.
Skipping the Cornmeal: Ensuring Proper Non-Stick Cooking
Cornmeal is essential for preventing the bread from sticking to the skillet. Skipping this step could lead to a frustrating experience when trying to remove the loaves. If you don’t have cornmeal, be sure to use a generous amount of flour instead, and consider greasing the skillet lightly with oil or butter.
Exploring Variations and Customizations
Incorporating Different Herbs and Spices
One of the joys of making bread is the ability to personalize it. Consider adding fresh herbs like rosemary or thyme to the dough for a fragrant twist. Simply chop them finely and incorporate them during the mixing stage.
Experimenting with Add-Ins: Cheese, Garlic, or Nuts
For a savory version, add shredded cheese or minced garlic to the dough for added flavor. You can also mix in nuts or seeds for crunch and nutrition. Just be sure not to overload the dough, as this can affect its rise.
Gluten-Free Alternatives: Adapting the Recipe
If you’re looking for a gluten-free option, you can adapt this recipe using gluten-free flour blends. Be sure to include a binding agent such as xanthan gum, which helps replicate the structure that gluten provides. Follow the package instructions for the best results.
Creative Shapes and Sizes: Personalizing Your Loaf
Feel free to get creative with the shapes and sizes of your loaves. Instead of traditional round or oval shapes, try making small rolls or braided loaves. Adjust the cooking time accordingly based on the size of your loaves.
Serving Suggestions and Pairings
Pairing Stovetop Surprise Bread with Dishes
Stovetop Surprise Bread pairs wonderfully with a variety of dishes. Serve it alongside hearty soups, stews, or salads for a complete meal. It can also be a delightful accompaniment to charcuterie boards, providing a fresh, homemade touch.
Ideal Spreads and Dips for This Bread
For a simple yet delicious treat, serve your bread with a selection of spreads. Butter, herb-infused oils, or homemade dips like hummus or tzatziki can elevate your bread experience. Consider experimenting with flavored butters, such as garlic or honey, for unique flavor profiles.
Serving for Breakfast, Lunch, or Dinner
This versatile bread can be enjoyed any time of day. For breakfast, serve it warm with jam or honey. At lunch, pair it with sandwiches or salads. For dinner, include it as a side dish or use it to scoop up sauces and gravies.
Creating a Bread Basket for Special Occasions
For gatherings, create a bread basket filled with Stovetop Surprise Bread alongside other varieties. This not only showcases your baking skills but allows guests to enjoy a selection of flavors and textures.
Nutritional Information
Caloric Breakdown of Stovetop Surprise Bread
One slice of Stovetop Surprise Bread contains approximately 120 calories, depending on the ingredients and portion size. This is a great base for a balanced meal, especially when paired with nutritious toppings.
Health Benefits of Homemade Bread
Homemade bread offers numerous health benefits. You can control the ingredients, ensuring there are no preservatives or artificial additives. Additionally, you can opt for whole grain flours, which provide more fiber and nutrients than refined options.
Balancing Bread in a Healthy Diet
While bread can be a part of a healthy diet, moderation is key. Pair your Stovetop Surprise Bread with protein-rich foods and plenty of vegetables to create balanced meals. Being mindful of portion sizes will ensure you enjoy the bread without overindulging.
Conclusion
Stovetop Surprise Bread is not just a recipe; it’s an invitation to explore the art of bread-making in a simple and accessible way. With the ease of stovetop cooking, anyone can create delicious, warm bread that enriches meals and brings people together. Whether you’re enjoying it fresh out of the skillet or using it to complement your favorite dishes, this bread is sure to become a staple in your culinary repertoire. Embrace the joy of baking with this simple, satisfying recipe that promises to surprise and delight!