
Introduction
There’s something irresistibly comforting about soft pretzels paired with a rich, cheesy dip. Whether enjoyed at a bustling street fair or cozying up at home during a movie night, this dynamic duo has carved out a special niche in the realm of snacks. When you make soft pretzels at home, you’re not just preparing food; you’re creating experiences filled with warmth, nostalgia, and, of course, that delightful aroma wafting through your kitchen.
Homemade snacks have a unique ability to forge memorable moments. From family gatherings to casual get-togethers with friends, soft pretzels serve as a versatile treat that can cater to any occasion. They can be enjoyed fresh out of the oven, dipped into a variety of sauces, or even topped with an array of seasonings to suit every palate. The joy of crafting these twisted delights from scratch only adds to the satisfaction, making them a beloved choice for snack enthusiasts everywhere.
The Allure of Soft Pretzels
The history of pretzels is as twisted as their shape. Originating in ancient times, pretzels have a rich cultural significance, especially in Europe. Some trace their roots back to the early Christians who used the shape to symbolize arms crossed in prayer, while others believe they were created as a reward for children learning their prayers. Fast forward a few centuries, and pretzels have evolved into a beloved snack enjoyed across the globe—from the beer gardens of Germany to the bustling streets of New York City.
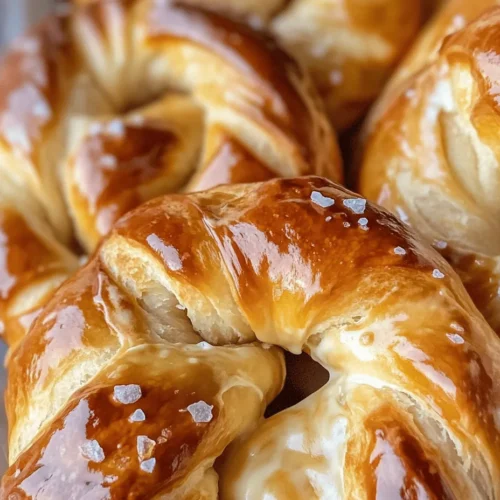
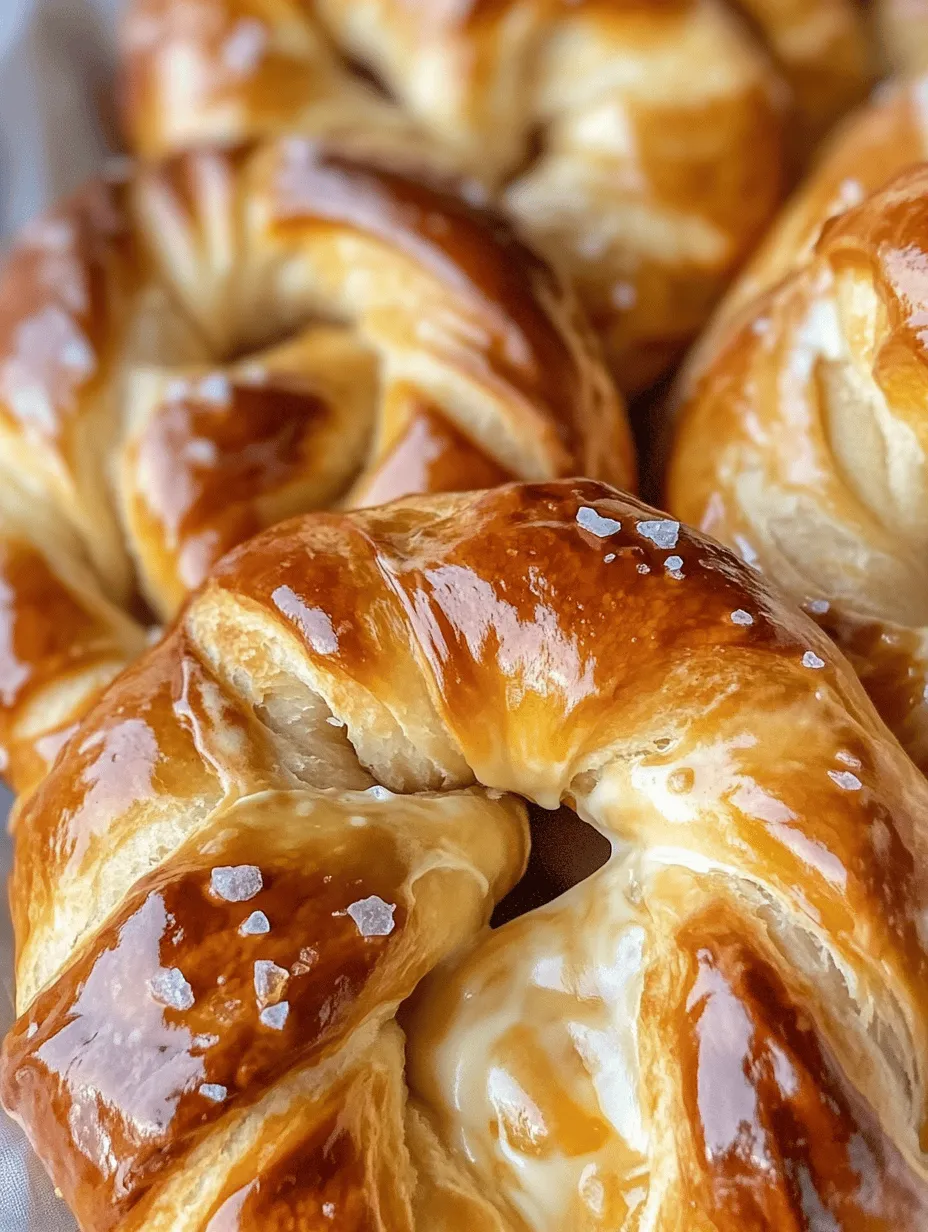
Soft pretzels, in particular, have captured the hearts (and stomachs) of many. Their warm, chewy texture, combined with a golden-brown crust, makes them a delightful treat. Unlike their crunchy counterparts, soft pretzels are made using a unique process that involves boiling the dough in a baking soda solution before baking, resulting in a signature flavor and texture that is hard to resist.
Moreover, the variety of pretzels available today is staggering: from cinnamon-sugar pretzels to savory garlic knots, the possibilities are endless. But there’s something truly special about making them at home—an experience that elevates simple ingredients into something extraordinary. The process of kneading the dough, allowing it to rise, and finally shaping it into twists not only engages the senses but also fosters a deeper connection to the food we consume.
Exploring the Ingredients
To create the perfect soft pretzels, we must first explore the essential ingredients that come together to form the dough. Each element plays a critical role in achieving the desired flavor and texture.
Key Ingredients in the Pretzel Dough
1. All-Purpose Flour: This is the backbone of your pretzel dough. All-purpose flour provides the necessary structure and chewiness that soft pretzels are known for. Its moderate protein content is ideal for developing gluten, which gives the dough its elasticity and chew. While you could experiment with bread flour for a chewier texture, all-purpose flour strikes the perfect balance for soft pretzels.
2. Active Dry Yeast: The magic of soft pretzels lies in the leavening process facilitated by yeast. Active dry yeast is a key player in making your dough rise and achieving that fluffy interior. When activated with warm water and sugar, the yeast ferments, producing carbon dioxide that causes the dough to expand. Understanding how to properly activate your yeast is crucial; it should be bubbly and frothy, indicating that it’s alive and ready to work its magic.
3. Sugar: A small amount of sugar is not just for sweetness; it enhances the overall flavor of the pretzels and provides food for the yeast during fermentation. This results in a slightly sweet undertone that balances the saltiness of the dough.
4. Salt: Salt is essential in any dough recipe, and pretzels are no exception. It enhances the flavor and helps to regulate yeast activity, ensuring that your dough rises properly. Using coarse salt for sprinkling on top of your pretzels adds a delightful crunch and bursts of flavor with each bite.
Breakdown of Cheese Dip Ingredients
No pretzel experience is complete without a cheesy dip to accompany it. Let’s dive into the key ingredients that make a delicious cheese dip.
1. Cheddar Cheese: When it comes to cheese dip, cheddar is a classic choice. Its sharp flavor melts beautifully, creating a rich and creamy dip that pairs perfectly with the warm, salty pretzels. You can use sharp, medium, or mild cheddar depending on your taste preference. For added complexity, consider blending in some Gruyère or Monterey Jack for a more gourmet experience.
2. Milk: The addition of milk is crucial for achieving the right consistency in your cheese dip. It helps to create a smooth, creamy texture that is not too thick or runny. Whole milk is ideal for richness, but you can substitute with low-fat milk or even non-dairy alternatives if desired.
3. Spices and Seasonings: Elevating your cheese dip with spices can make all the difference. A pinch of garlic powder, paprika, or even a dash of cayenne can add depth and enhance the flavor profile, making the dip even more irresistible.
Step-by-Step Guide to Crafting Twisted Delights
Preparing the Dough
Now that we’ve covered the essential ingredients, let’s begin the exciting process of preparing our pretzel dough. The following steps will guide you through the initial preparation, ensuring that you create the perfect base for your twisted delights.
1. Activate the Yeast: Start by measuring out warm water (around 110°F or 43°C) and pouring it into a mixing bowl. Sprinkle the active dry yeast and a teaspoon of sugar over the water. Allow it to sit for about 5 to 10 minutes until it becomes foamy. This indicates that the yeast is active and ready to be mixed into the dough.
2. Combine the Ingredients: In a large mixing bowl, combine the all-purpose flour and salt. Once the yeast mixture is foamy, pour it into the bowl with the flour. Mix with a wooden spoon or spatula until the dough begins to come together. At this point, you can also add any additional flavorings or spices to the dough, such as garlic powder or onion powder, if desired.
3. Kneading the Dough: Once the ingredients are combined, transfer the dough to a lightly floured surface. Knead the dough for about 5 to 7 minutes, until it becomes smooth and elastic. This step is crucial, as kneading develops the gluten structure, giving your pretzels their signature chewy texture. If the dough feels too sticky, add a little more flour as needed, but be careful not to add too much, as this can result in tough pretzels.
4. Let it Rise: After kneading, form the dough into a ball and place it in a greased bowl, turning it to coat all sides. Cover the bowl with a clean kitchen towel or plastic wrap, and let the dough rise in a warm, draft-free area for about 1 to 1.5 hours, or until it has doubled in size. This rising time is crucial for creating fluffy pretzels, as the yeast will produce carbon dioxide gas that leavens the dough.
As the dough rises, the aromas of freshly activated yeast and warm flour will begin to fill your kitchen, setting the stage for the delightful experience that lies ahead. Stay tuned for the next steps in our guide, where we’ll explore the art of shaping the pretzels and the exciting process of boiling them before baking, leading to that perfectly golden crust.
Tips for Proper Dough Rising Conditions
Creating the perfect soft pretzels begins with the dough, and ensuring it rises correctly is crucial. Here are some tips to create the ideal environment for dough rising:
1. Choose the Right Temperature: Yeast thrives in a warm environment. Aim for a temperature between 75°F and 85°F (24°C to 29°C). If your kitchen is too cold, consider placing the dough in an oven that’s been preheated for just a few minutes and then turned off or near a warm stove.
2. Humidity Matters: A humid environment helps prevent the dough from drying out. If your kitchen is dry, you can create humidity by placing a bowl of hot water near the dough or covering it with a damp kitchen towel.
3. Use a Proofing Box: If you have a proofing box, this is the best option for controlling temperature and humidity. It provides a stable environment for the dough to rise evenly.
4. Watch for Size Doubling: The dough is ready when it has doubled in size. This typically takes about 1 to 1.5 hours, but keep an eye on it as it can vary based on conditions.
Shaping the Pretzels
Once your dough has risen, it’s time to shape your pretzels. This can be a fun part of the process. Follow these steps:
1. Divide the Dough: After the dough has risen, punch it down gently to release the air. Divide the dough into 8 equal pieces for standard-sized pretzels.
2. Roll into Strands: Take each piece and roll it into a long rope, about 24 inches in length. If the dough is resistant, let it rest for a few minutes before continuing to roll.
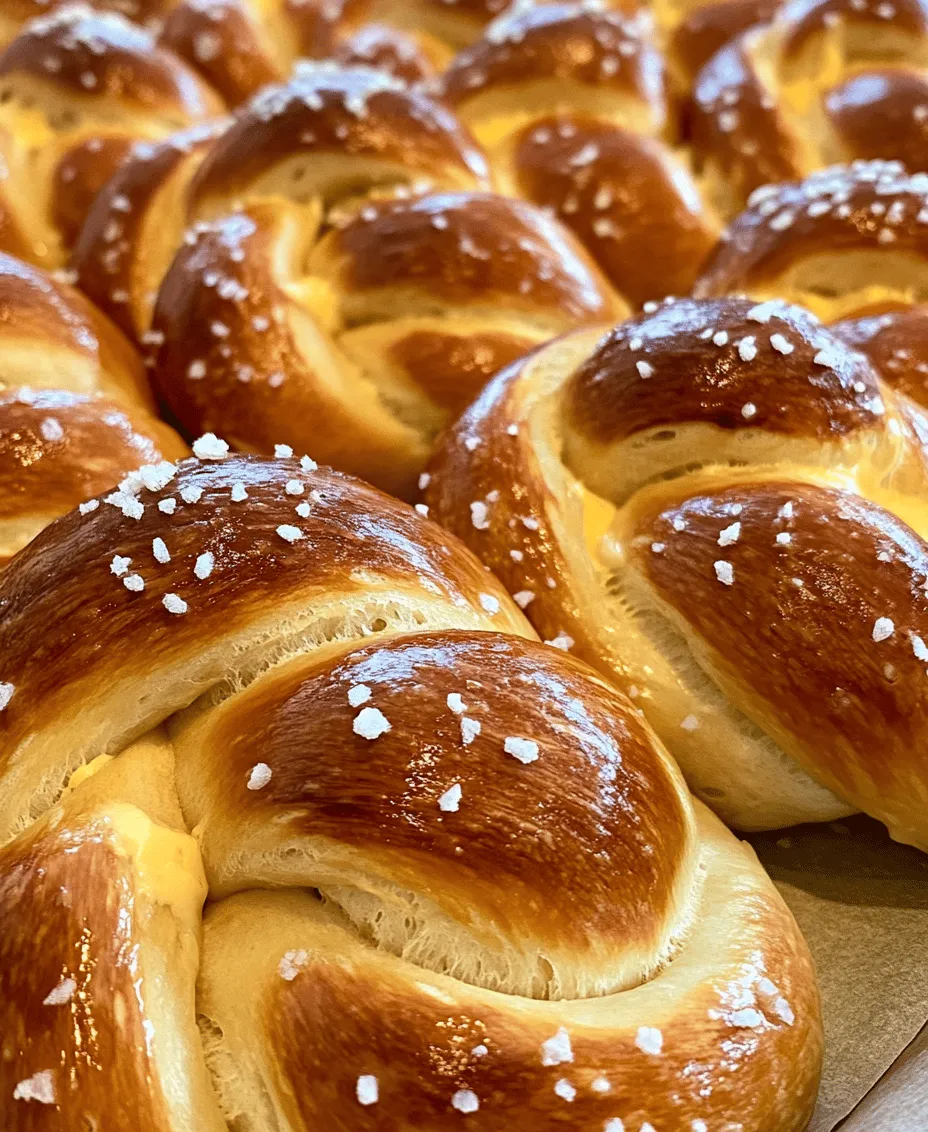
3. Shape the Pretzel: To form the pretzel shape, take the rolled dough and create a U-shape. Cross the ends over each other, twist them once, and then fold them down to the bottom of the U.
Techniques for Rolling and Twisting Pretzel Shapes
The key to achieving that signature pretzel shape lies in the technique:
– Uniform Thickness: Ensure that the rope is of uniform thickness throughout to promote even baking. Avoid thin spots that could burn or thick areas that may remain doughy.
– Twisting: When twisting the dough, do not over-twist as this can cause the pretzel to lose its shape. One complete twist is usually sufficient.
Visual Cues for Knowing When the Dough is Ready
Visual cues are essential for knowing when your dough is ready to shape and bake:
– Puffy Appearance: The dough should look puffy and have increased in size significantly.
– Smooth Surface: The surface of the dough will appear smooth and may have small bubbles.
– Poke Test: Gently poke the dough. If the indentation stays and does not spring back, the dough is ready.
The Baking Soda Bath
Before baking, pretzels undergo a baking soda bath, a crucial step for achieving that distinct chewy texture.
1. Prepare the Bath: In a large pot, bring about 10 cups of water to a boil and add 2/3 cup of baking soda. Be careful as the mixture will bubble up.
2. Science Behind the Bath: The alkaline baking soda bath interacts with the dough’s surface to create a Maillard reaction during baking, resulting in the pretzels’ characteristic golden-brown color and chewy crust.
3. Importance of This Step: Skipping the baking soda bath would lead to pretzels that lack the familiar chewiness and deep flavor. This step is non-negotiable for authentic soft pretzels.
Baking the Pretzels
With the pretzels shaped and bathed, it’s time to bake them:
1. Preheat the Oven: Preheat your oven to 450°F (232°C). A high temperature is key to achieving a crispy exterior while keeping the inside soft.
2. Arrange on Baking Sheet: Line a baking sheet with parchment paper and arrange the pretzels, leaving space between them as they will expand while baking.
3. Add Toppings: Before baking, you can sprinkle coarse sea salt on top of the pretzels for flavor. For a more decadent touch, brush them with melted butter after baking.
4. Baking Time: Bake the pretzels for 12 to 15 minutes or until they are golden brown. Keep an eye on them to avoid over-baking.
5. Knowing When They’re Done: The pretzels are ready when they are a rich golden color. You can also tap the bottom of a pretzel; if it sounds hollow, it’s perfectly baked.
Crafting the Cheesy Love: Cheese Dip Preparation
A soft pretzel is only complete with a creamy cheese dip. Here’s how to whip up a delicious cheese dip that pairs perfectly with your pretzels:
1. Ingredients:
– 2 tablespoons of unsalted butter
– 2 tablespoons of all-purpose flour
– 1 cup of milk (whole or 2%)
– 1 ½ cups of shredded cheese (cheddar, Monterey Jack, or a blend)
– Salt and pepper to taste
– Optional: 1 teaspoon of garlic powder or paprika for added flavor
2. Creating the Roux: In a medium saucepan, melt the butter over medium heat. Once melted, whisk in the flour and cook for about 1-2 minutes, stirring constantly. This roux will thicken your cheese dip.
3. Adding Milk: Gradually whisk in the milk, ensuring no lumps form. Continue to cook for about 3-5 minutes until the mixture thickens.
4. Incorporating Cheese: Remove from heat and stir in the shredded cheese until melted and smooth. Season with salt, pepper, and any additional spices you prefer.
5. Adjusting Flavors: Feel free to experiment with different types of cheese or add a splash of hot sauce for a spicy kick. A blend of cheeses can also enhance flavor and texture.
Serving Suggestions and Pairing Ideas
Now that your pretzels and cheese dip are ready, it’s time to serve them up! Here are some tips for a delightful presentation and pairing ideas:
1. Presentation Tips: Serve the pretzels warm on a rustic wooden board or a platter. Place a small bowl of cheese dip in the center for an inviting look. Garnish with fresh herbs or a sprinkle of paprika for color.
2. Beverage Pairings: Soft pretzels pair wonderfully with craft beers, particularly lagers or pale ales. If you prefer non-alcoholic options, consider serving with a refreshing soda or sparkling water.
3. Variations: Don’t hesitate to get creative with your pretzels. Try adding toppings like sesame seeds, garlic salt, or even everything bagel seasoning before baking. For dips, consider mustard, ranch dressing, or even a spicy sriracha mayo for variety.
Conclusion
Making soft pretzels with cheesy dip is not just about enjoying a delicious snack; it’s about the joy of creating something from scratch and sharing it with those you love. The process, from kneading the dough to twisting it into iconic shapes, brings a sense of accomplishment that is hard to beat.
As you embark on your pretzel-making journey, remember that the beauty of this recipe lies in its versatility. Feel free to experiment with flavors, shapes, and dips. Whether it’s for a cozy night in or a gathering with friends, homemade soft pretzels with cheesy love will always be a hit.
So gather your ingredients, get your hands floury, and relish the satisfaction of crafting a snack that not only brings joy to your taste buds but also fosters togetherness. Happy baking!